
Jul 20 2020
 7 min read.
Jul 20 2020
So I’ve had the idea to write this blog post for a while, and I’ve just found a repository that I would like to contribute a change to, so I’m going to document the process I follow right here, hoping it might be of use to some folks in the future!
The repository I would like to make a change to is one from Twilio, it contains a default .NET Core starter app, and can be found over at https://github.com/twilio/starter-dotnet-core
The reason I want to make a change is because I started to play their addictive TwilioQuest game, and being a .NET dev, I of course was going to choose that as my language of choice.
However, after I cloned the repository and tried running it, I got an error because it was targeting netcoreapp2.2, and because I didn’t have that installed the build of the solution failed. Why is that bad you may ask? Well, because Microsoft announced that .NET Core 2.2.x will reach end of life on 23rd December 2020, about 5 months from when I wrote this article.
I had a quick look around the repository , a couple of issues were open, no Pull Requests were outstanding, I thought this might be something fun to do, will help out an open source project and keep it up to date, and also give me a target for using to write this post! So without further ado, lets get started.
How do we get the code so we can edit it
First things first, we need to create our own version of the repository , on GitHub (and maybe others like GitLab, BitBucket, Azure Repos) this is called Forking. It creates a clone of the repository from the original authors account and puts a copy under yours, all you need to do is simply click the  button, normally found on the top right of the page. Don’t worry if you see a different number - that is just how many people prior have forked the repository.

You should see a little splash screen, then after a few seconds you should be jumped into your very own version of the repository
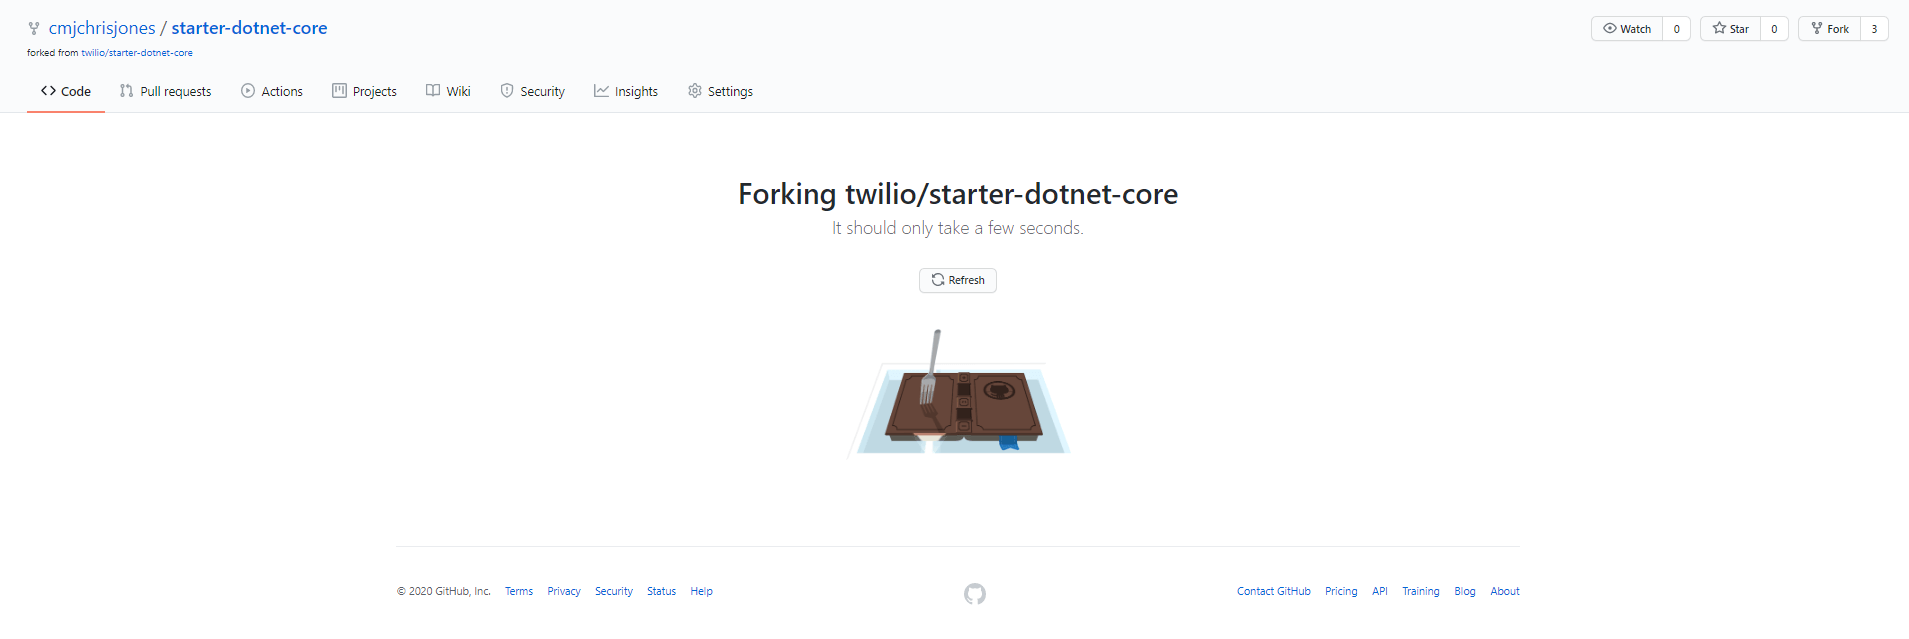
At first glance it might not look like anything has happened! The commit messages, dates etc are still the same, but look at the difference in the top left, we went from  to
to  in the blink of an eye!
Lets get the code locally
The next step, and one which hopefully you should be fairly familiar with, is cloning your newly forked repository onto your local machine, I typically use the command line for git commands I know well, such as cloning, so I’ll open up a command prompt, navigate to somewhere where I typically store my code files, and I’ll do a
git clone https://github.com/cmjchrisjones/starter-dotnet-core.git
(notice its coming from my GitHub account and not Twilios).

Next we’ll change into the directory, and check where our origin is by running
git remote -v

Now we’re ready to make some changes
Typically its bad to commit anything directly against the source repositories main source branch, therefore its better to create your own branch, I’m going to call mine something descriptive for my change, but also something which isn’t too long - update-to-net-core-3.1
Some repositories may have naming standards or guidelines, its always worth seeing if a repository has a CONTRIBUTING.md file in the root of the repository.
Now were free to make our changes.
The changes I’ve made are out of scope for this post, but if you really want you can go and check out the repository mentioned above.
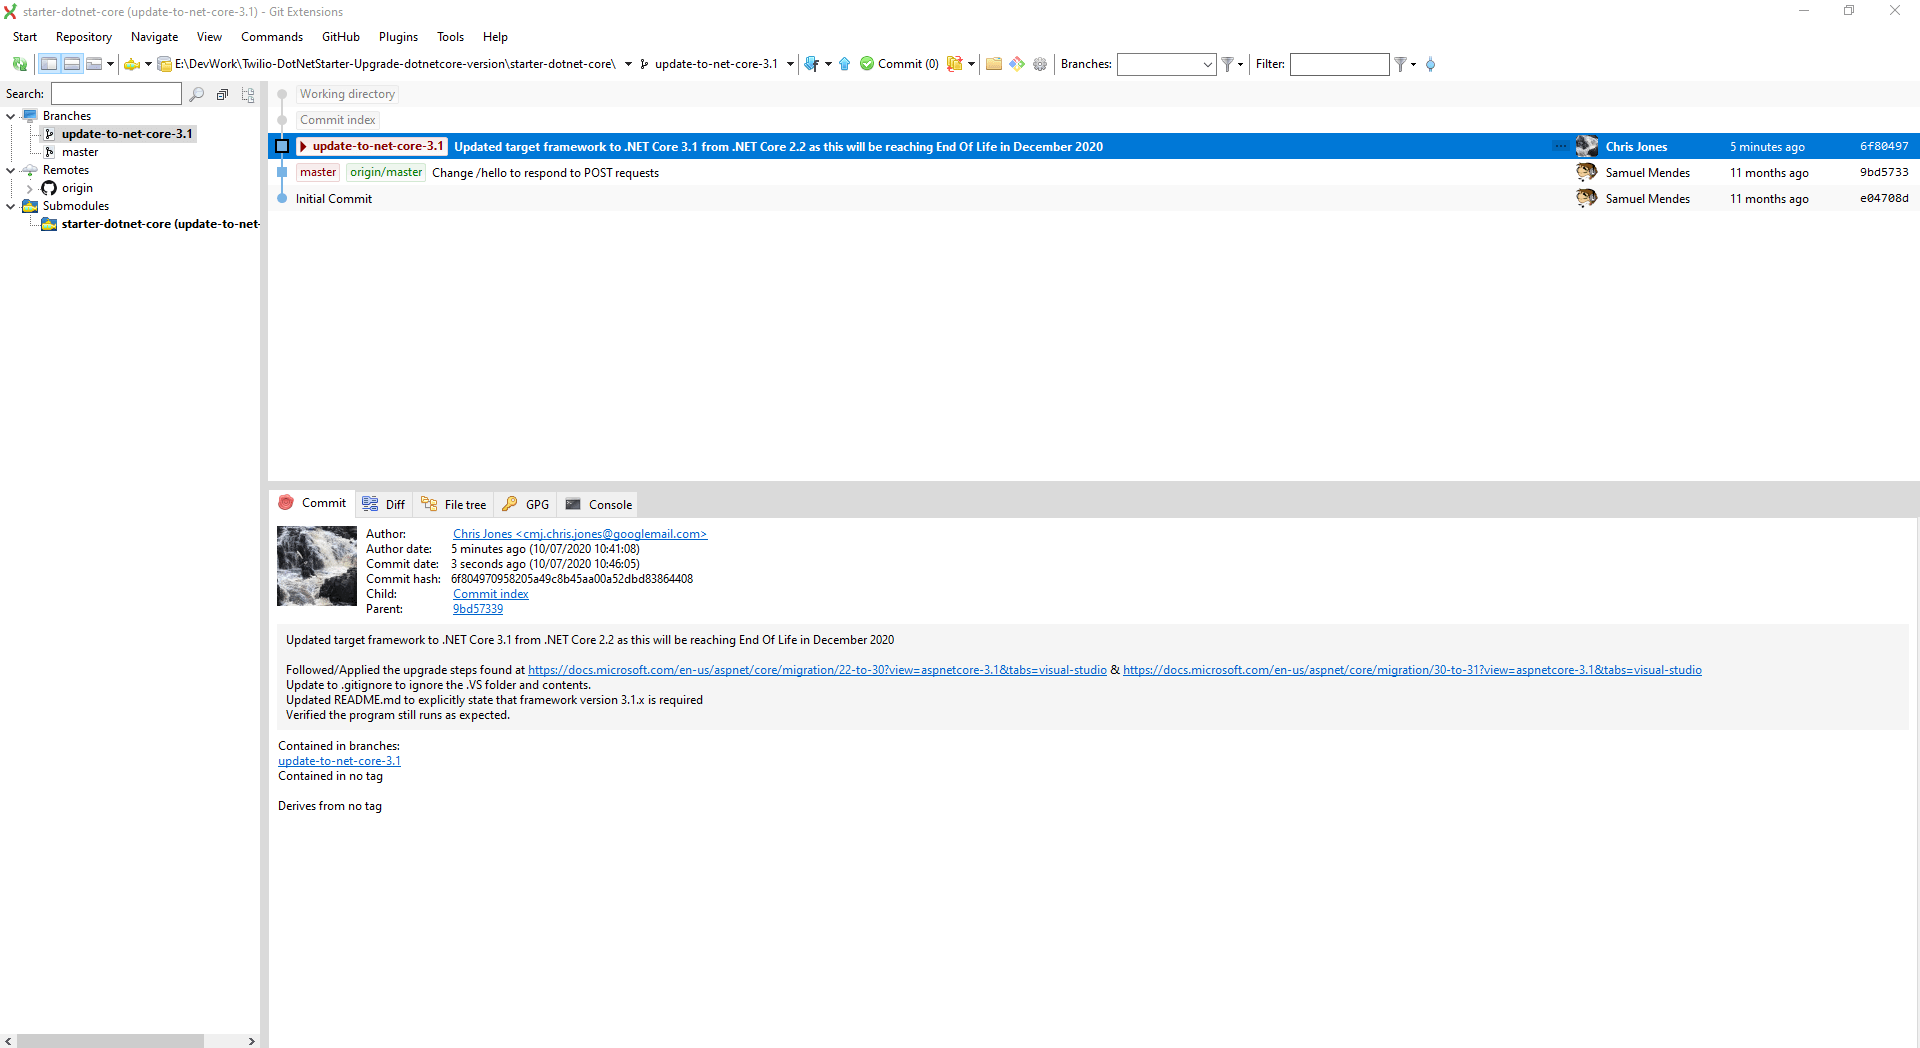
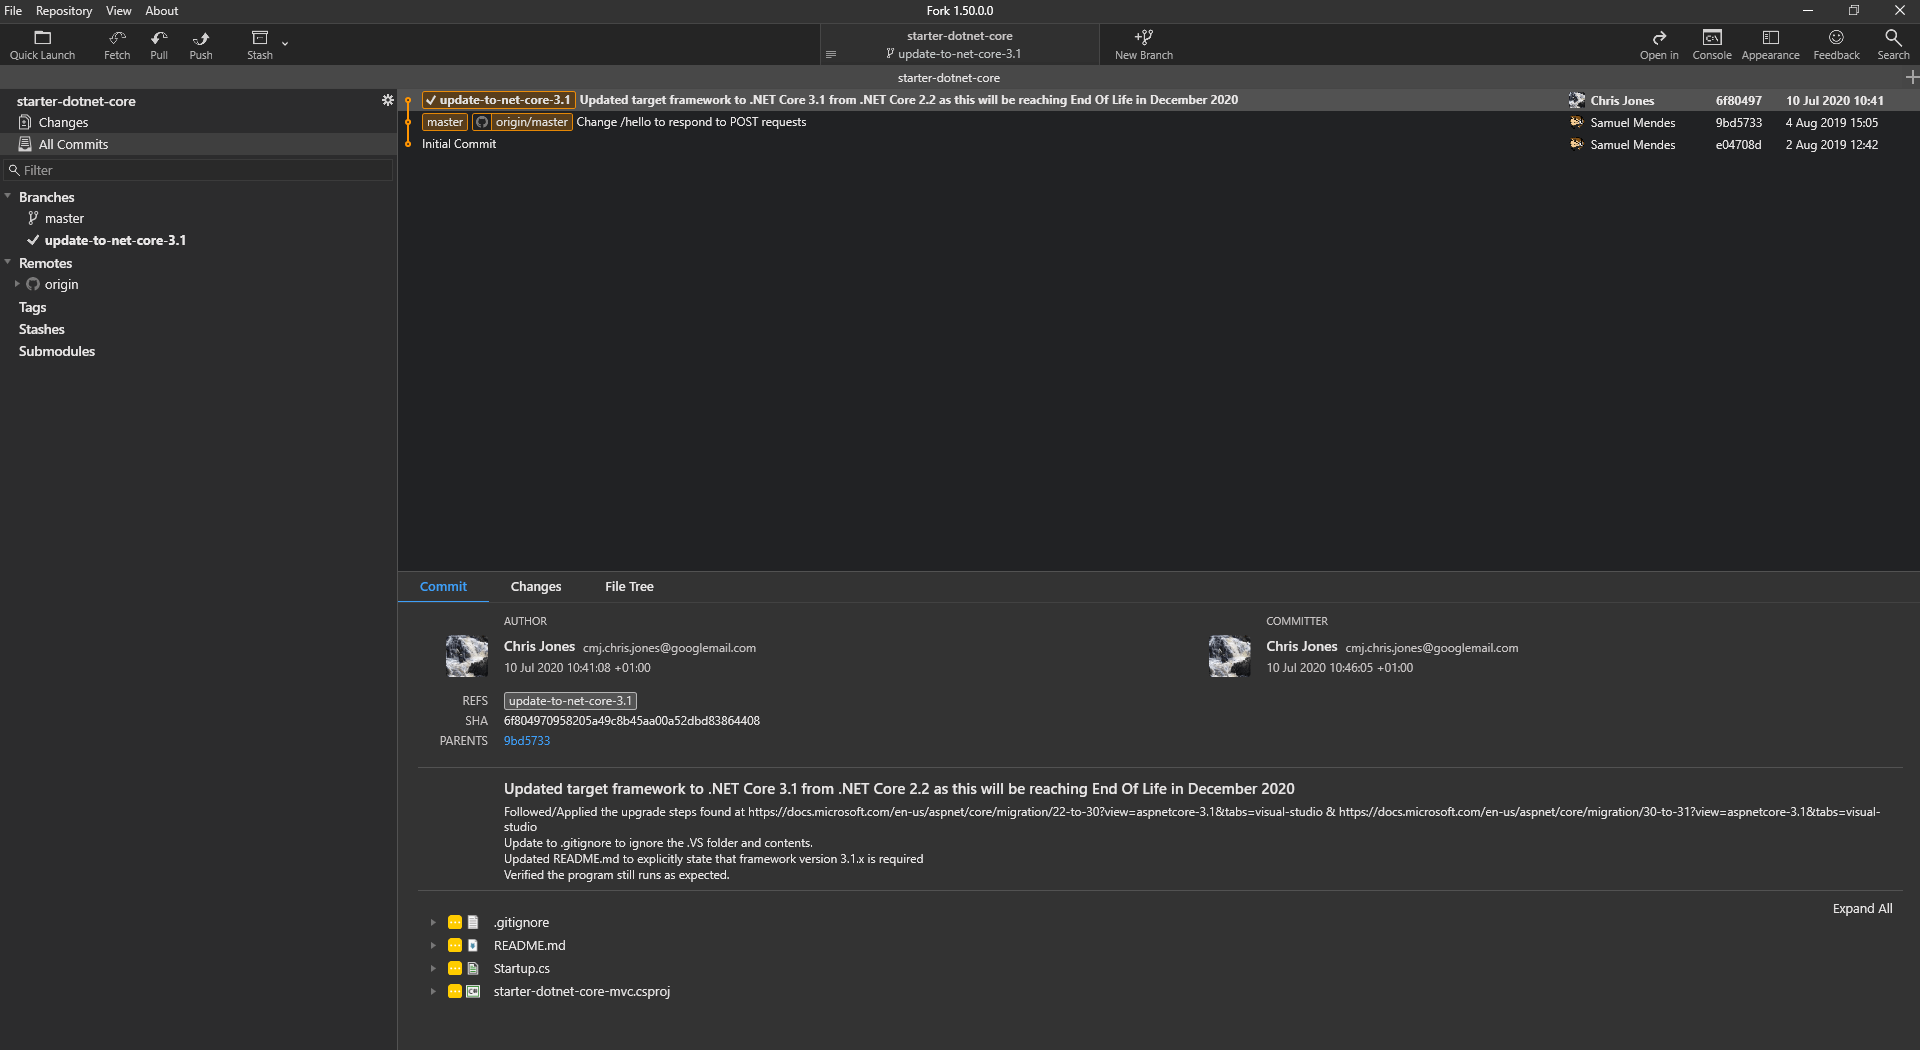
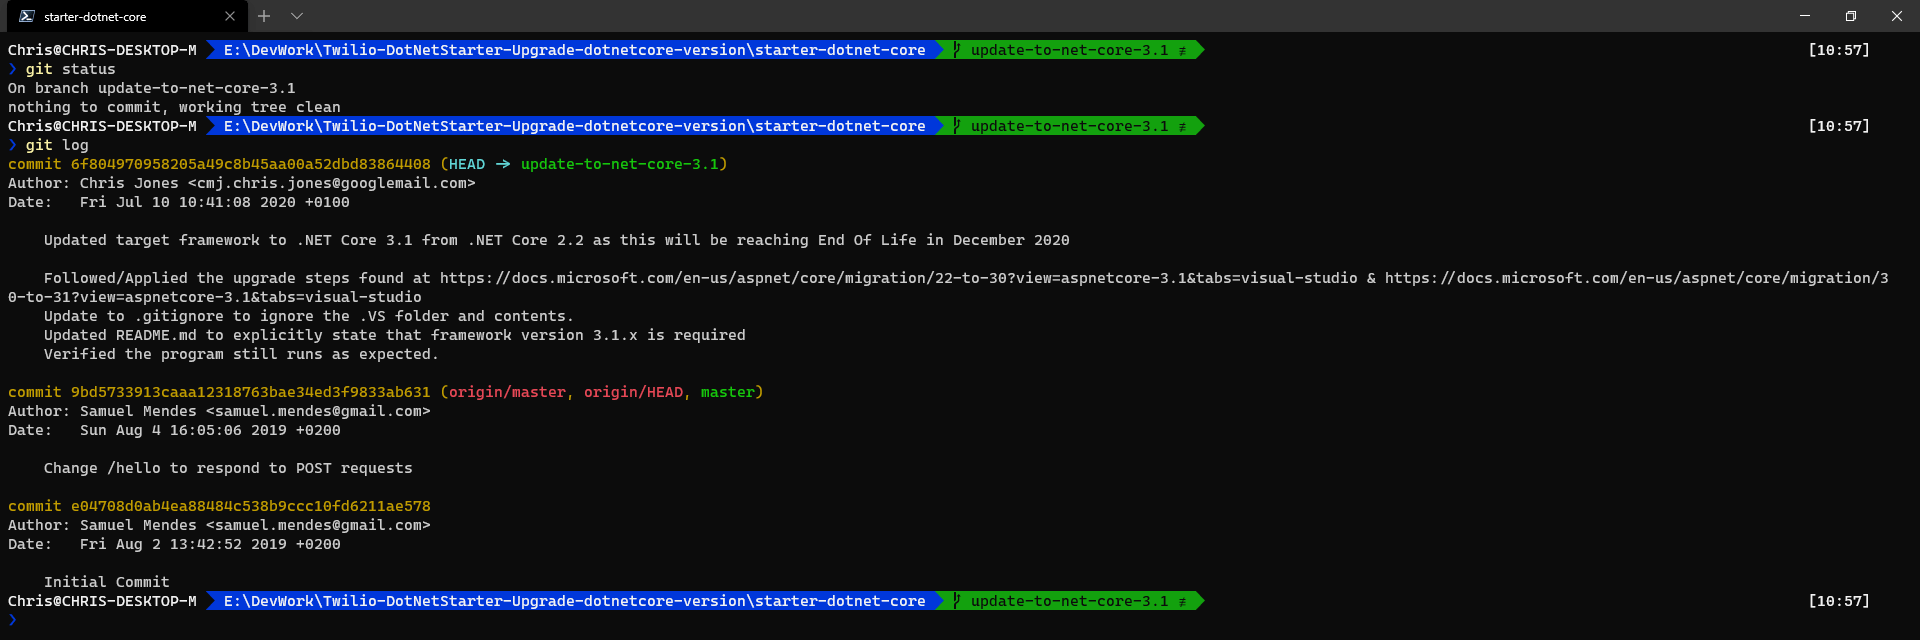
Looking the at the GIT GUI’s I use, you can see the changes/commit I’ve made
or via the command line
Pushing our code to our version of the repository
So now we have our changes all committed locally, its time to push our changes to our copy of the repository , I’ll run the following command
git push -u origin update-to-net-core-3.1

And if we now take a look at our GitHub repository , we can see there is a new message saying a new branch was pushed and we can do a compare and pull request, lets hit that button

Submitting a Pull Request (PR)
Clicking that button takes us to a page where we can create a Pull Request message which is where we can describe what/why the changes were made as well as viewing the changes side by side
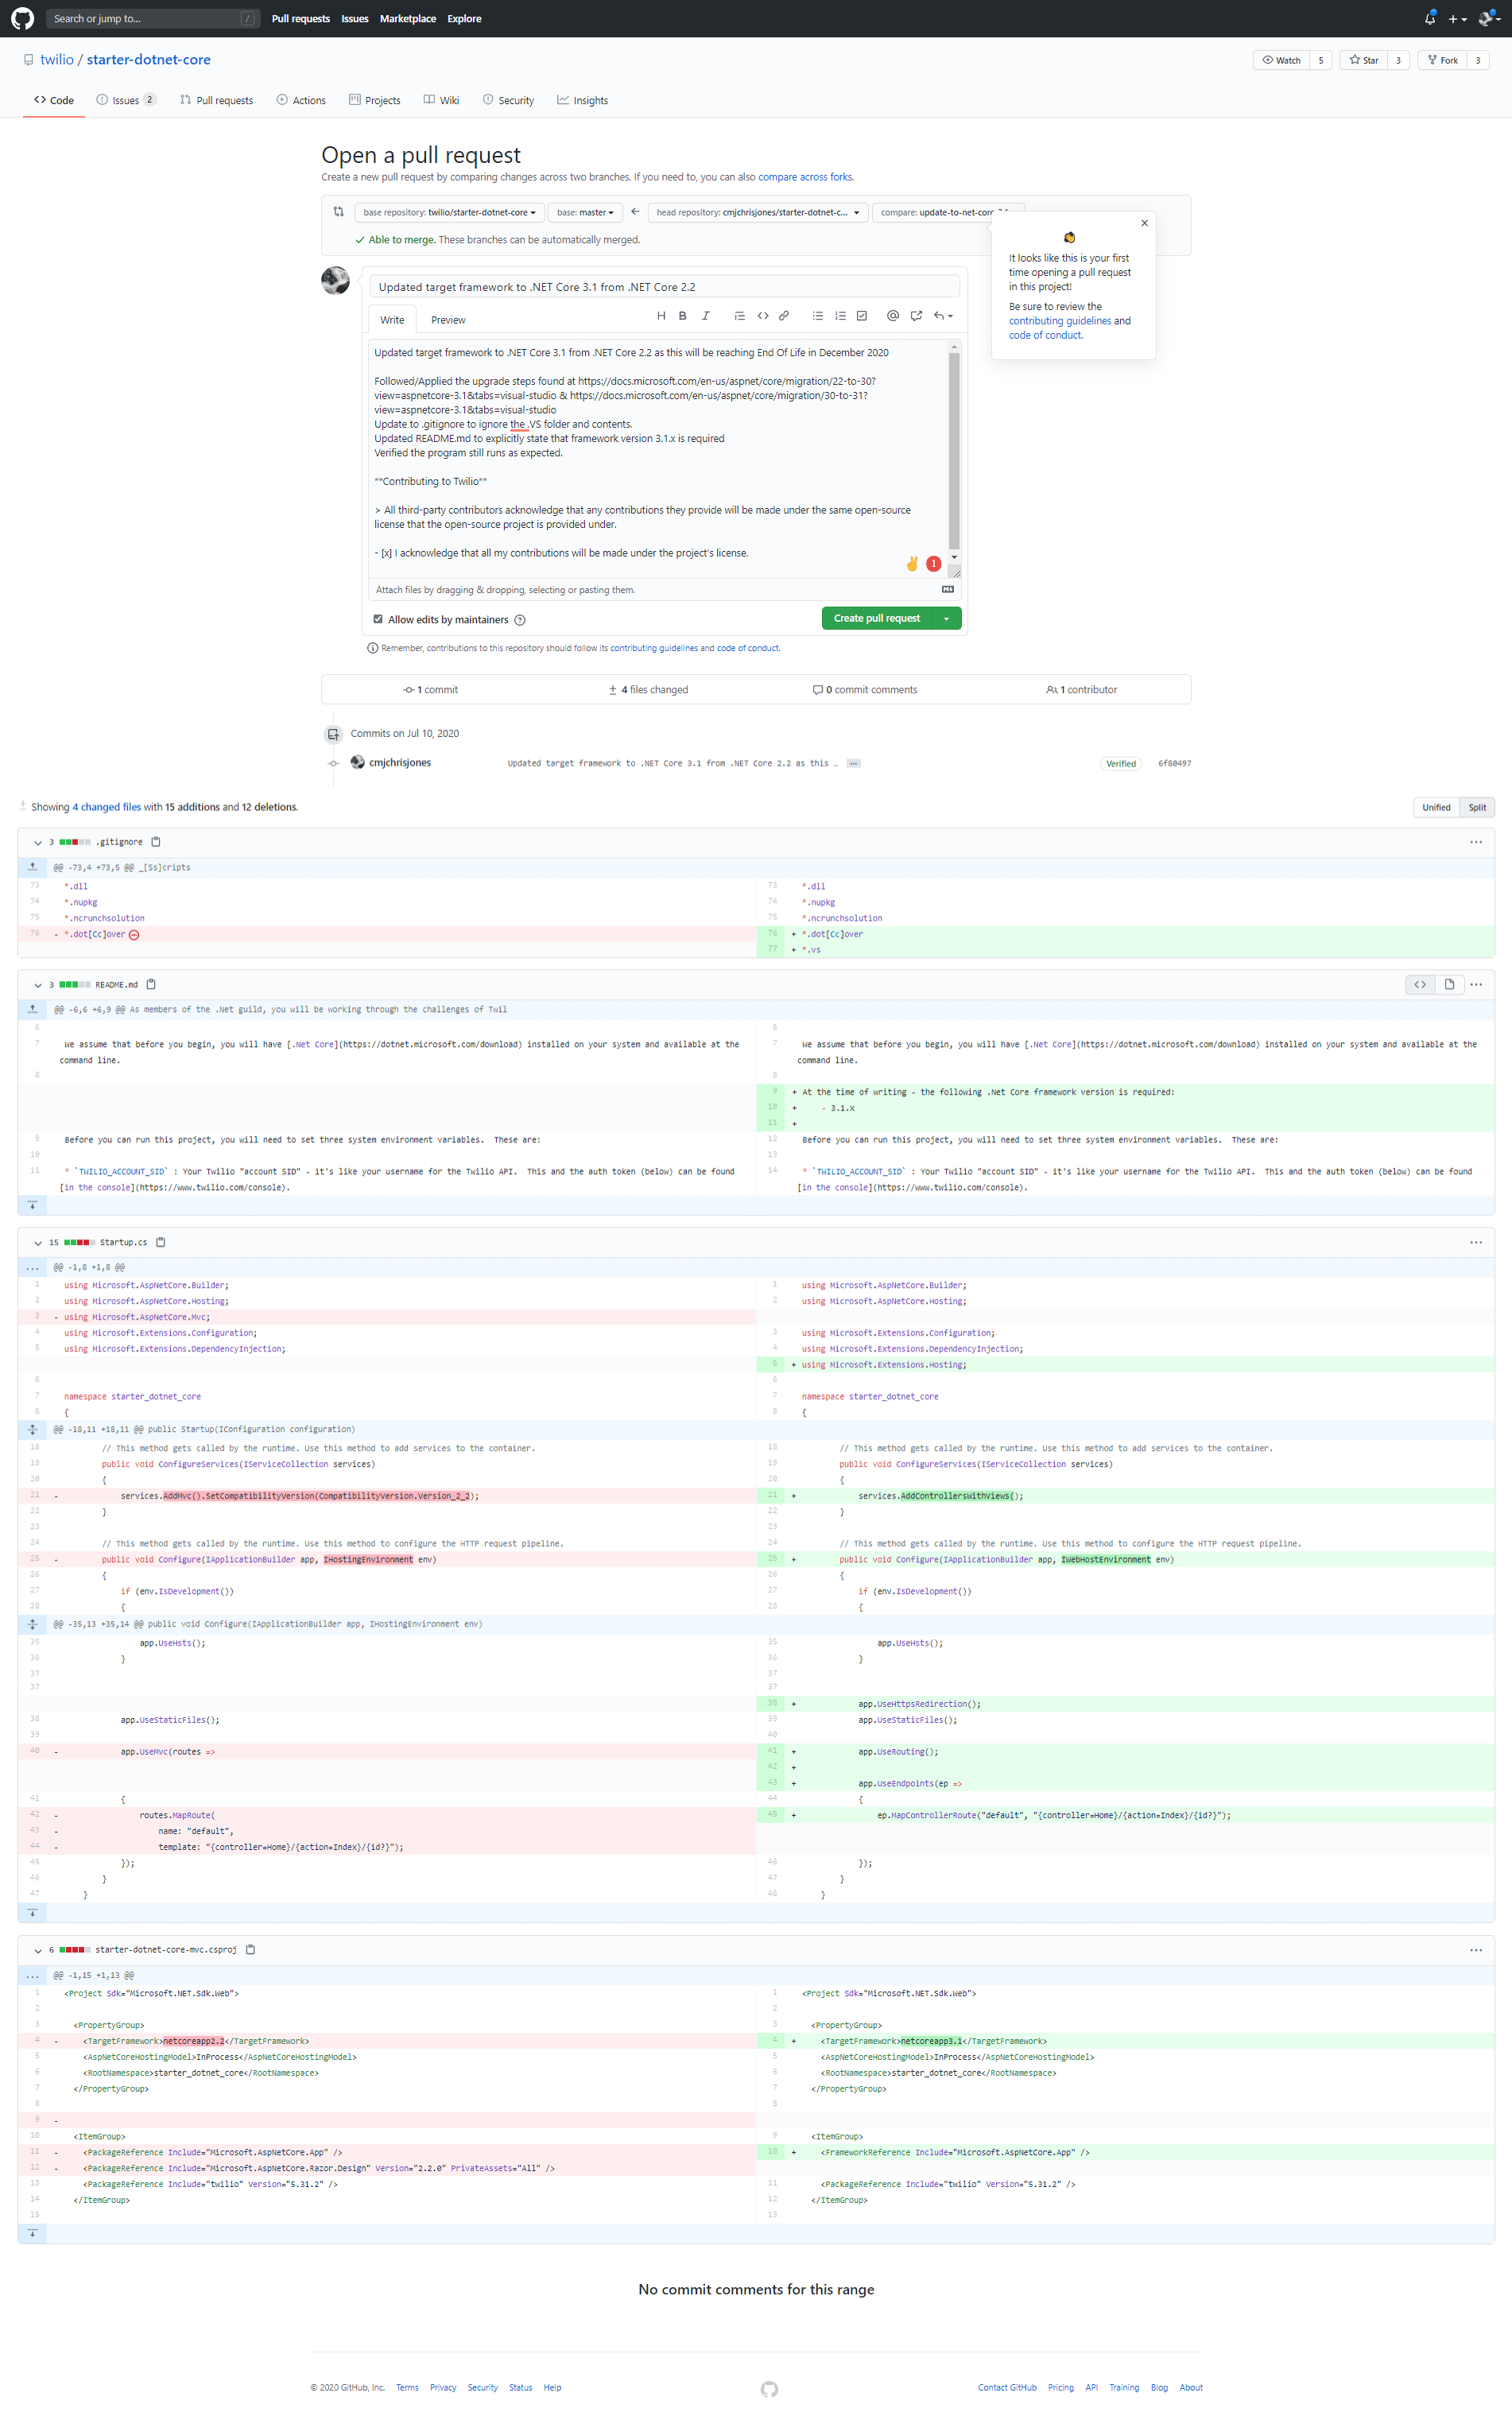
We can also target which branch of the remote (their) repository we want to target, because they only have a master branch that will be the branch we want our changes merged into

Once you’re happy with the changes you’ve made and your commit/pull request message, its time to create the Pull Request by clicking on the  Button. And Voila, a PR is now raised against the origin repository.
You can see the raised PR over at https://github.com/twilio/starter-dotnet-core/pull/3
Adding a second remote
So you may also be asking, ok, so when/if our changes get approved, that will go into the remote branch, how do I keep my version up to date?
Well, this is where adding a 2nd remote comes in handy.
Simply run
git remote add upstream [the url of the original repository ]
for example in this case I would do
git remote add upstream https://github.com/twilio/starter-dotnet-core
now if I run git remote -v again, I’ll see I have 2 remotes, origin (mine) and upstream (theirs).

How to keep our repository up to date with the ‘upstream’ aka - the parent repository
So, lets say they have merged our change in, or someone else’s changes, how would I update my version?
There might be better and/or easier ways, but what I do is this - I’m using a slightly different repository here so I can show the relevant screen shots, as you can see, on another repository I have previously forked on GitHub, I’m a few commits behind on the vNext branch.

so, I’ll go to where I have the code cloned on my system, and I’ll checkout the branch I want to update (in this case, its vNext)
Then I’ll pull any changes from the upstream remote version of that branch by running
git pull upstream vNext
After that has finished, as long as there weren’t any merge conflicts, I’ll push that updated local version to our forked repository - and hopefully GitHub will show they are now in sync

And with that, that concludes the walk-through of contributing to someone else’s repository, and keeping your version up to date. I hope you found this guide somewhat helpful.


