


Nov 27 2018
5 min read.
Nov 27 2018
Pre-Requisites
In order to follow along, it would be useful if you already had the following:
- An Azure Account
- A Website you want to deploy which integrates with a MySQL database
Setting up the Azure Website
Start of, by creating an account on Azure if you do not already have one, once you have, navigate to your dashboard (https://portal.azure.com)
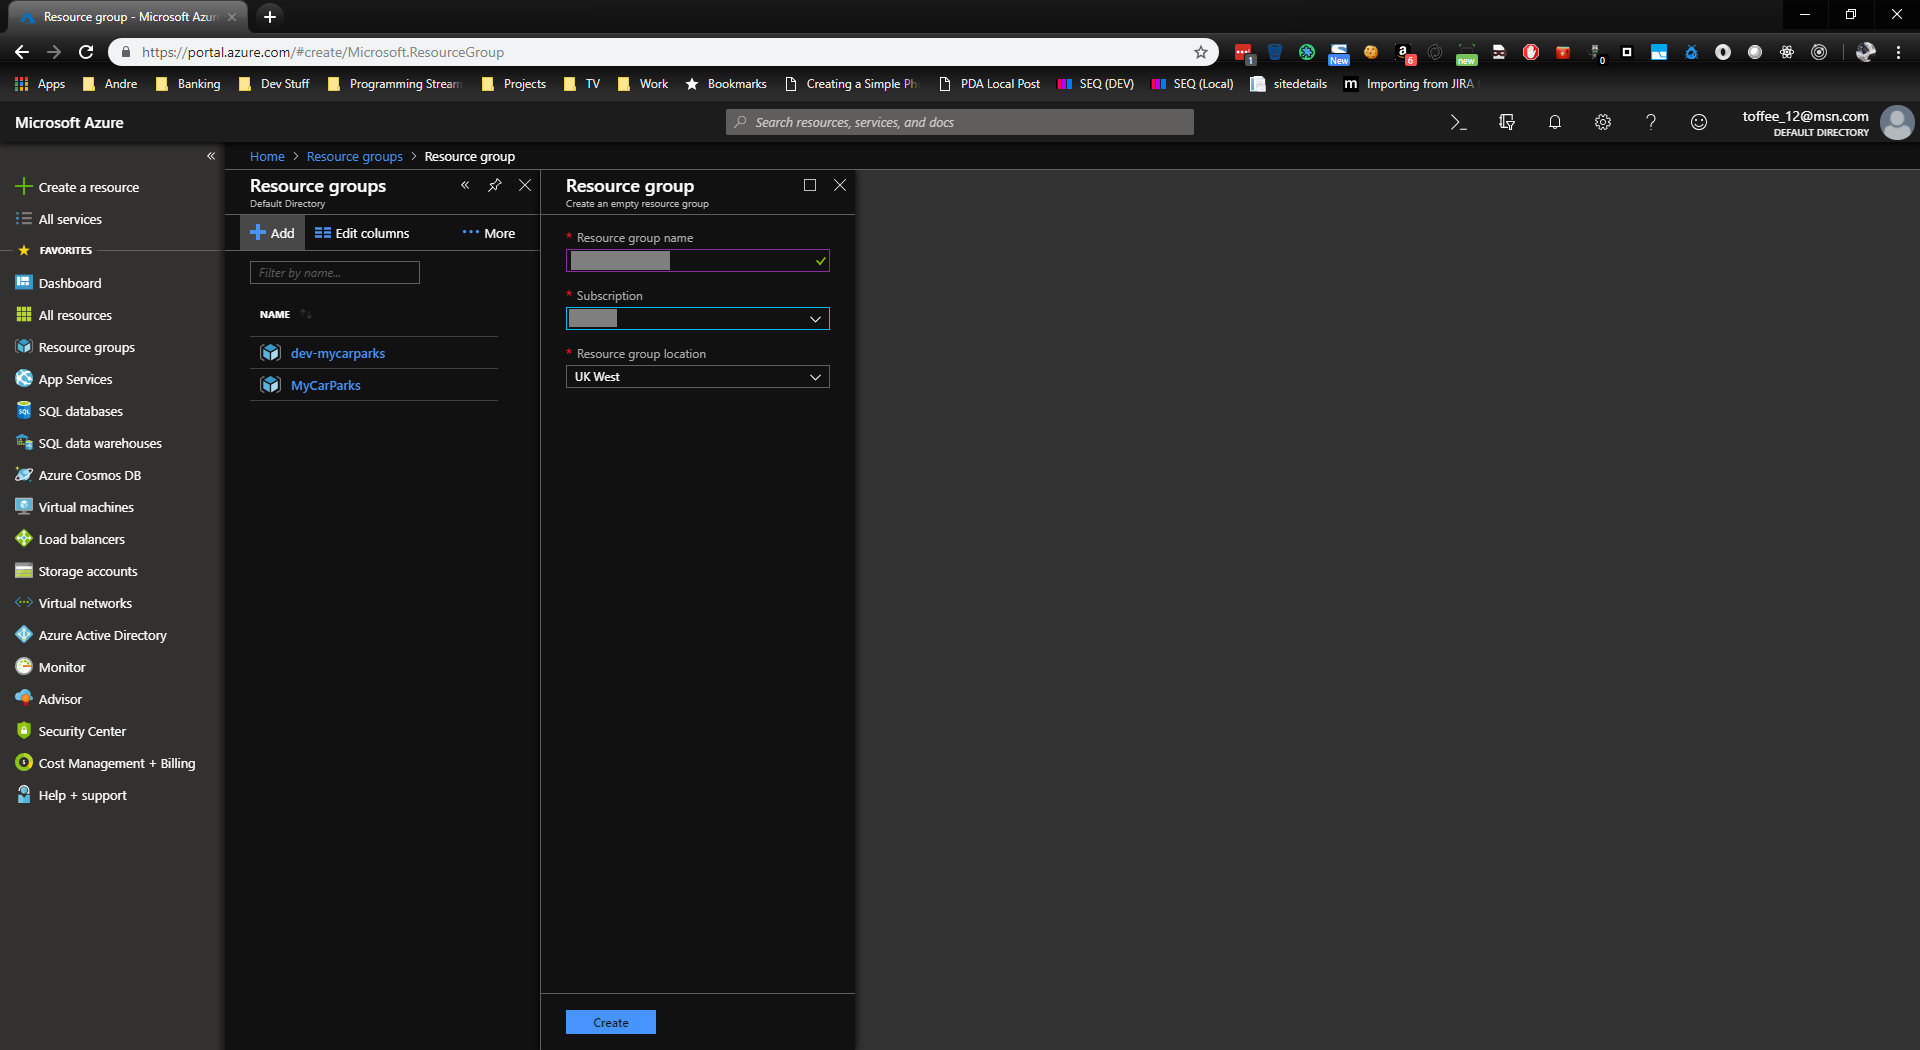
If you’re planning on managing multiple projects, or are just wanting to try this out, then as a suggestion I could recommend creating a resource group first and foremost as this helps organise all your bits and pieces, for the latter reason, if you are just wanting this temporarily, then its easy to just tear it all down!
To create a resource group, select resource group from the left hand menu, and in the main pane (called blades in Azure), click on the + Add button, and give your resource group a name, select subscription and region, and click on create.
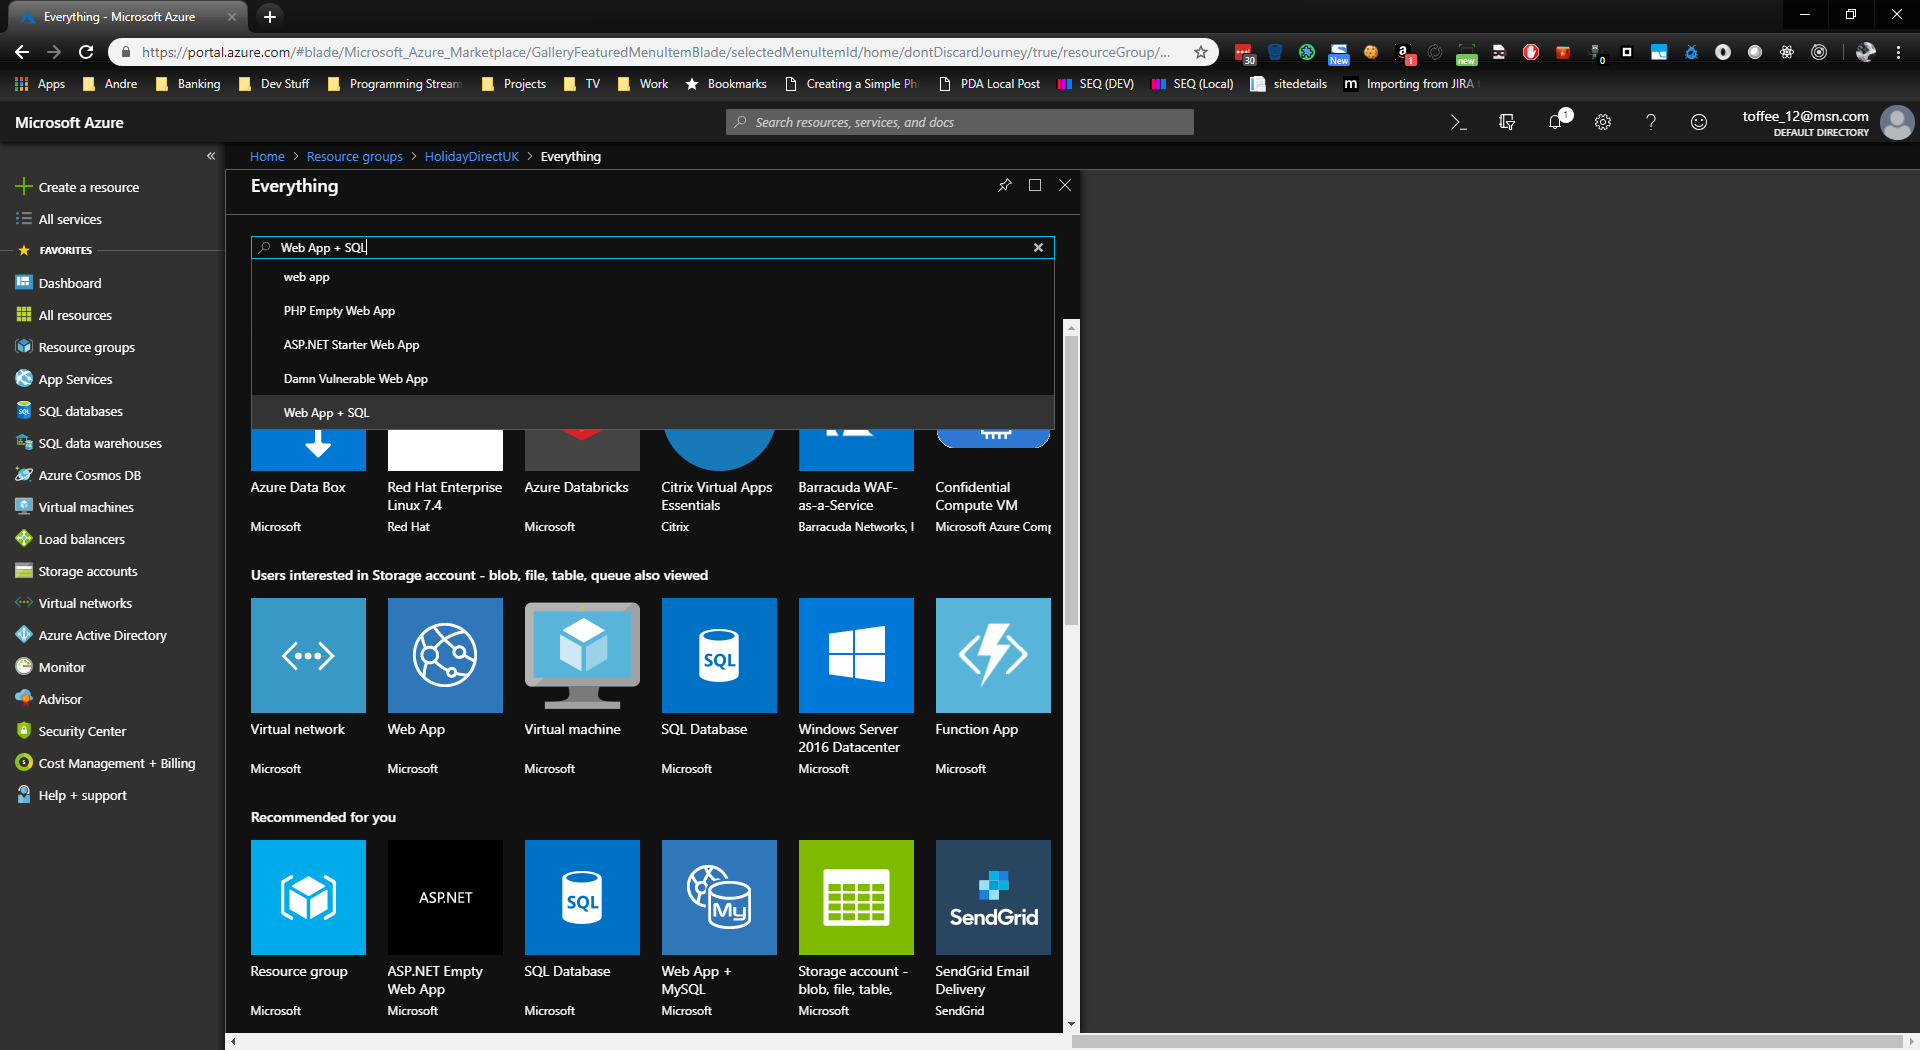
Once your resource group has been created, you can now add more applications to it, and to add our Web App + MySQL resource, and select the Add button and search for Web App + MySQL
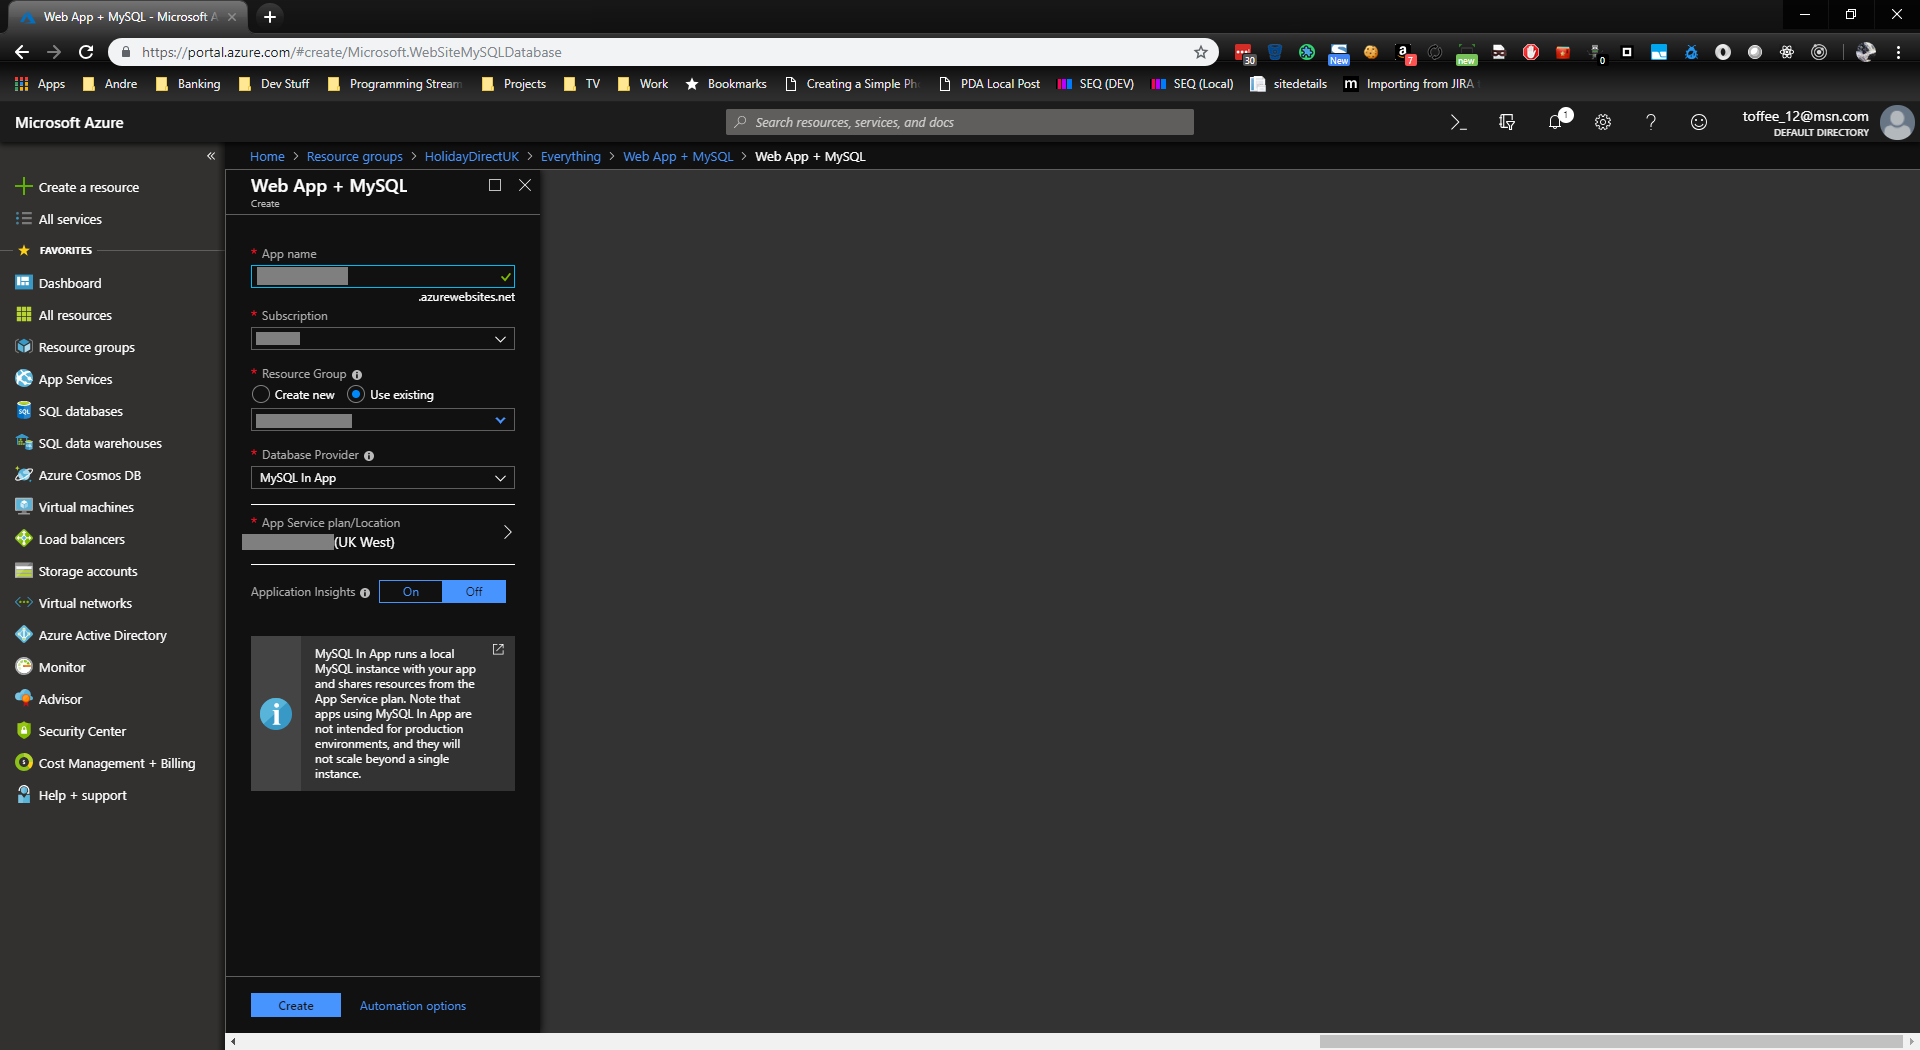
Select the Web App + MySQL, click on Create which will open up a new settings blade, as we’re setting this up just for testing a website, we can select MySQL In App as the Database provider, you just need to select what your planning on using as your App name, this would be what would be your website address (pre DNS if you choose to have that later on (I’ll cover that in a separate post)), then if they’re not prefilled already, select your subscription and resource group, and select create.
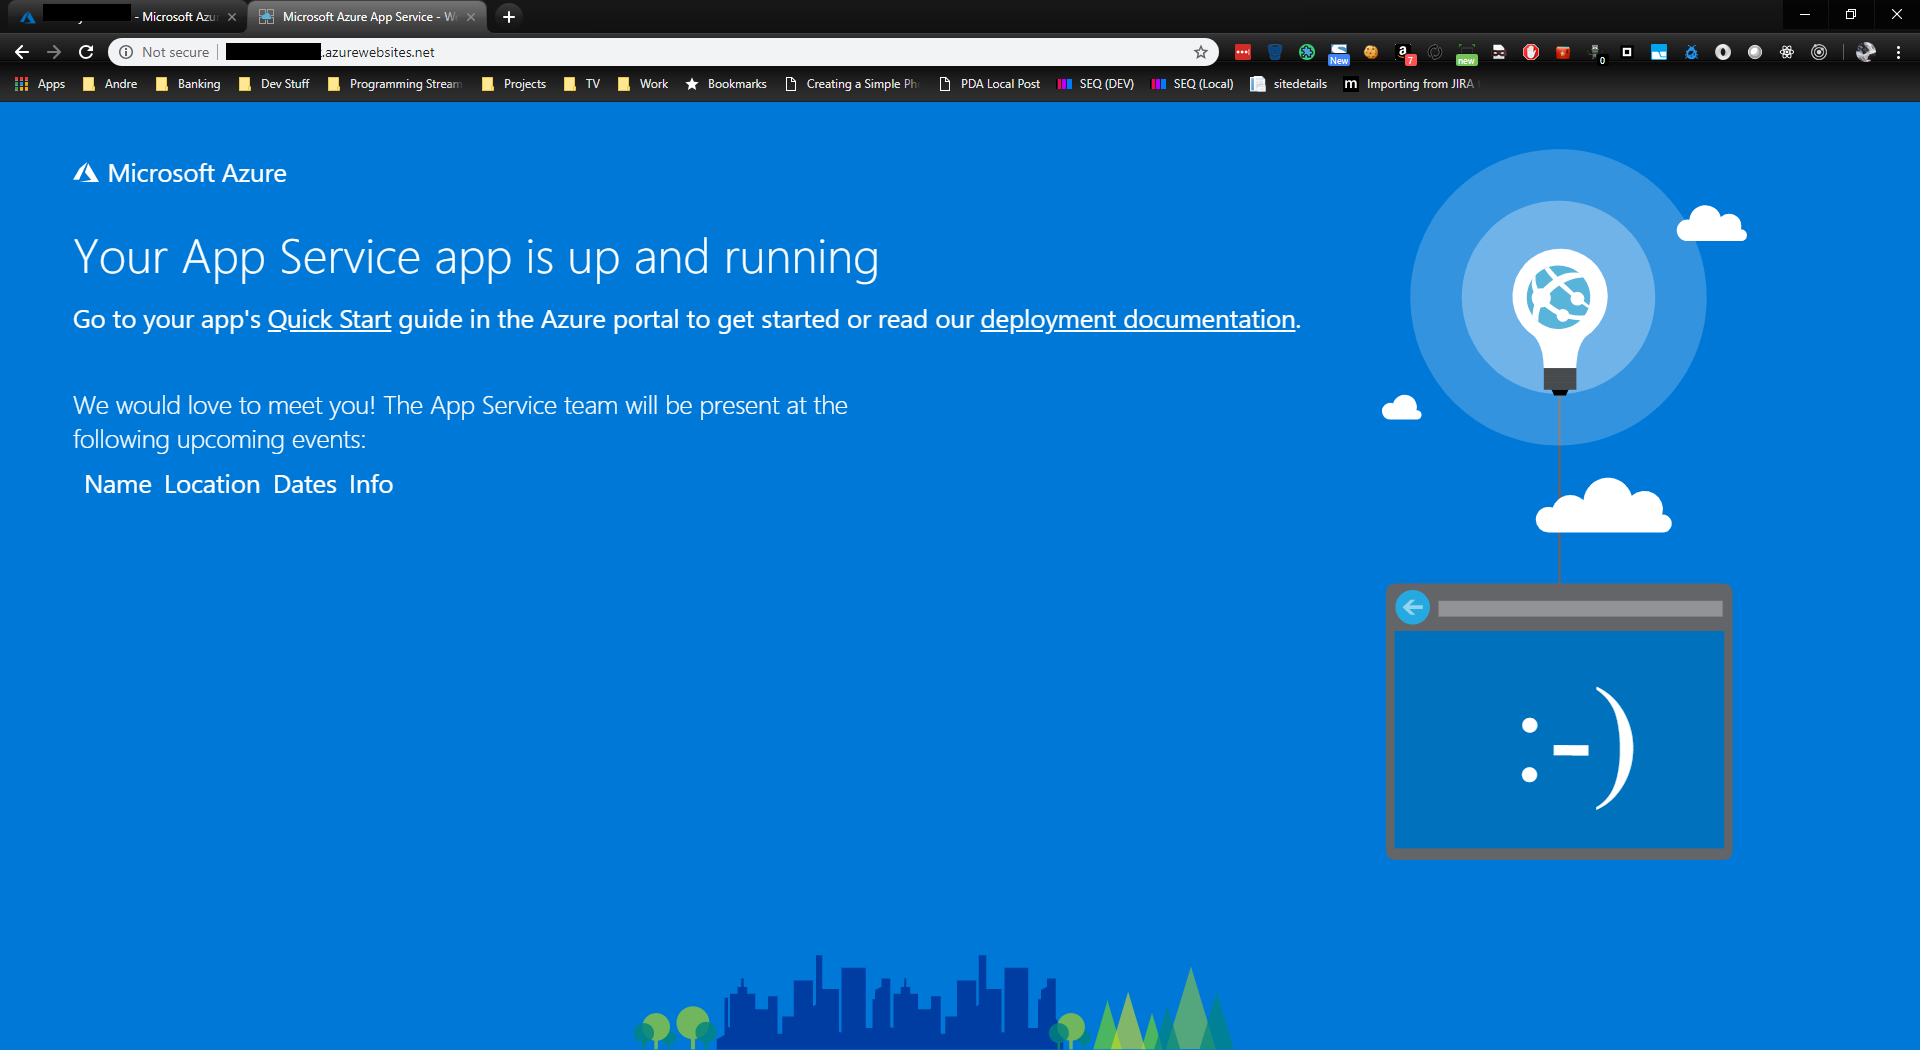
Great, now we’ve got that done, you should be able to navigate to http://{your App name}.azurewebsites.net, all being well you should see the Azure Websites holding page
Setting up the Azure Pipeline
Next step is we’re going to configure Azure DevOps Pipelines, I’m also going to use Azure DevOps Repos to host my code in a GIT style (see this post for how to set up a Azure Repo’s)
When your code is pushed to an Azure Repos, login to your organisation, select your project, and click on Pipeline in the left hand menu, indicated by the space ship icon, and select builds, you should see a page where you can create a new pipeline
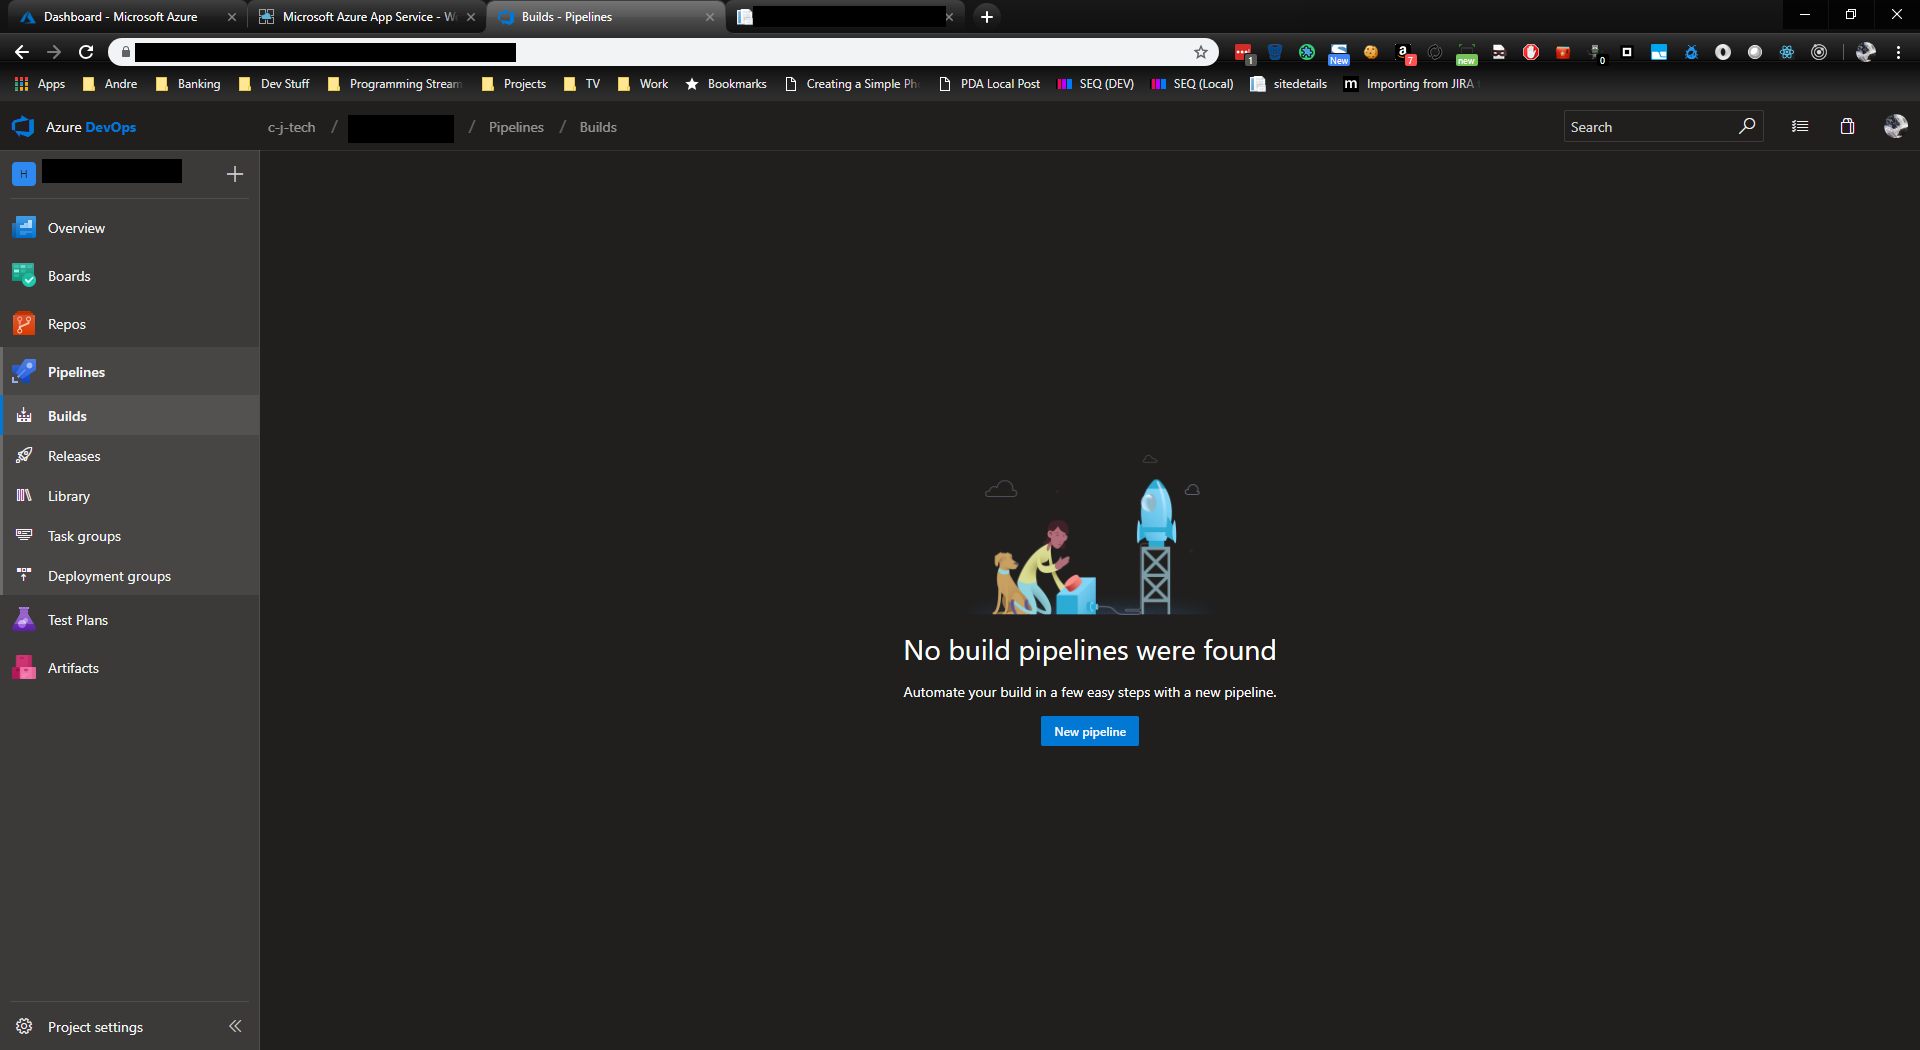
Click on the new pipeline button, select where your code is hosted (for me its in Azure Repos GIT), select your team project, repository and which branch you want to run your CI/CD pipeline for, as I’m pretty much the sole developer, I’m going to select master and press continue

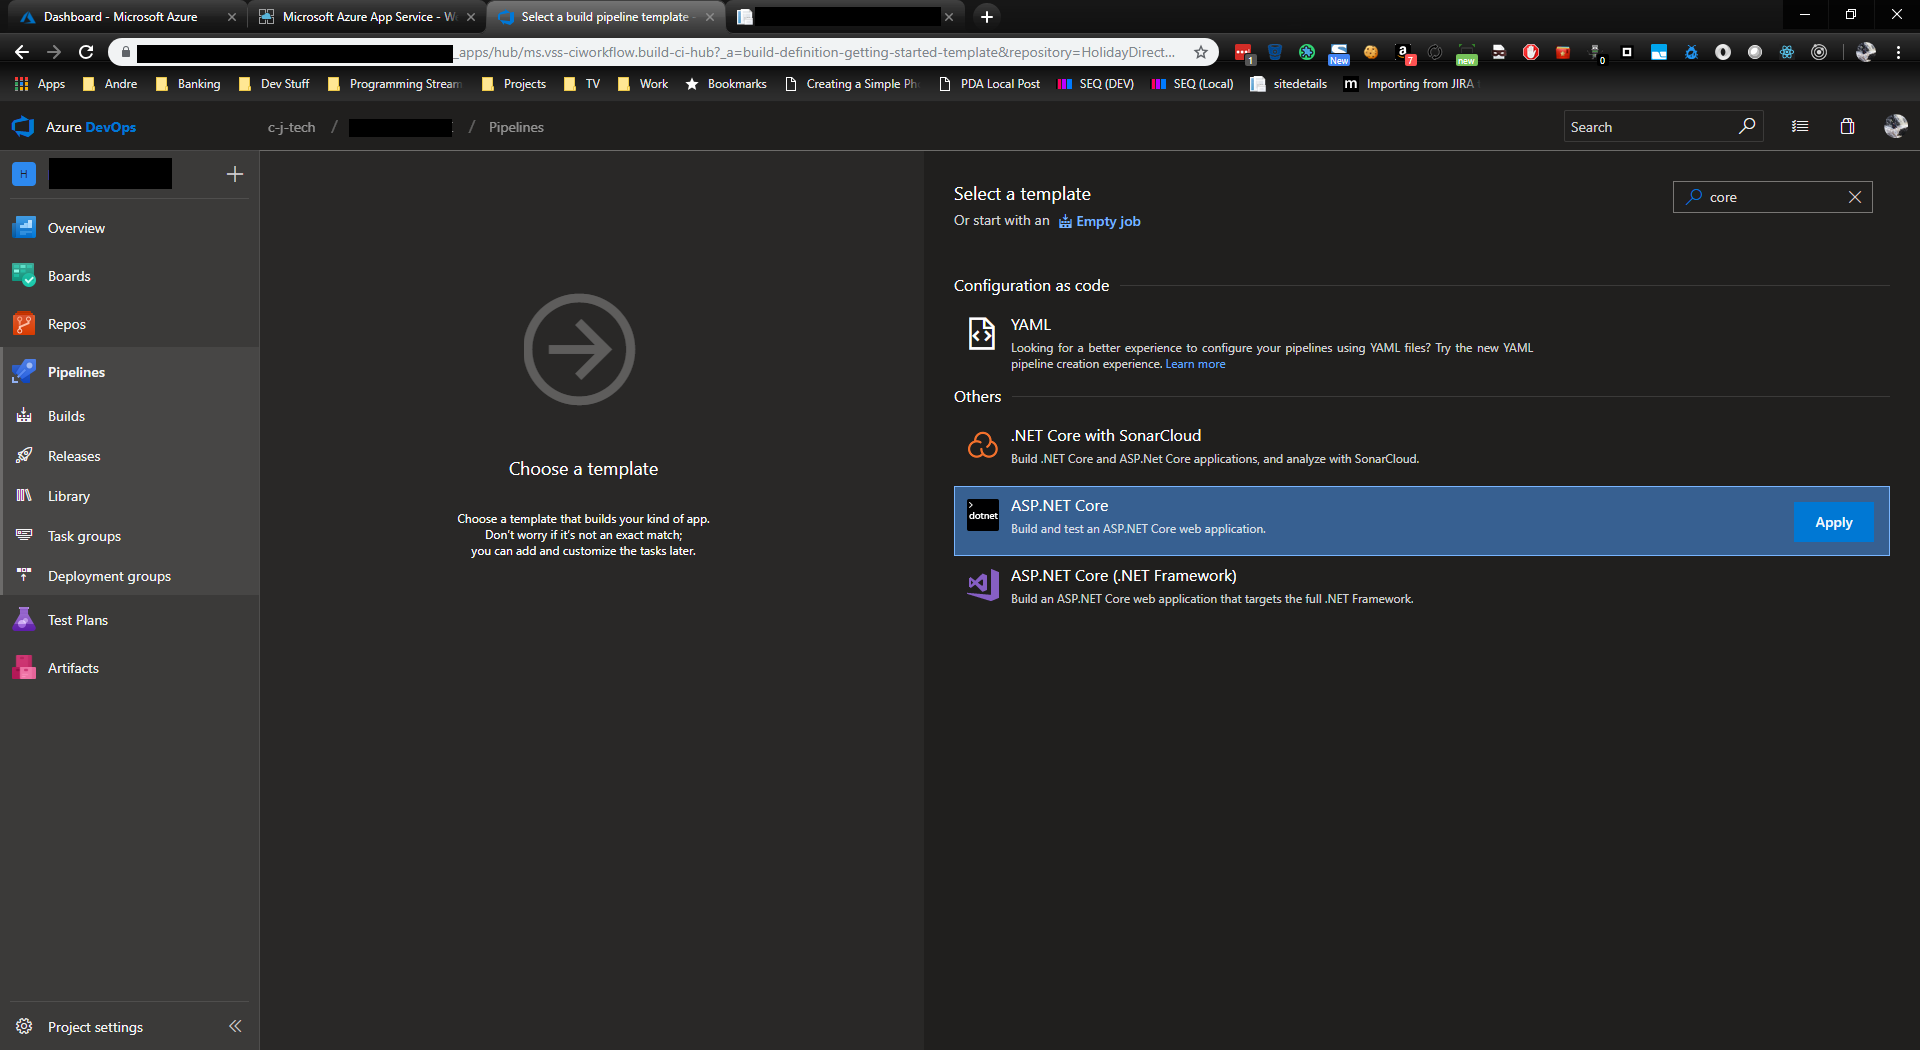
Now I can either use a template or manually create my build definition, for simplicity at this time, I’m going to select ASP.NET Core
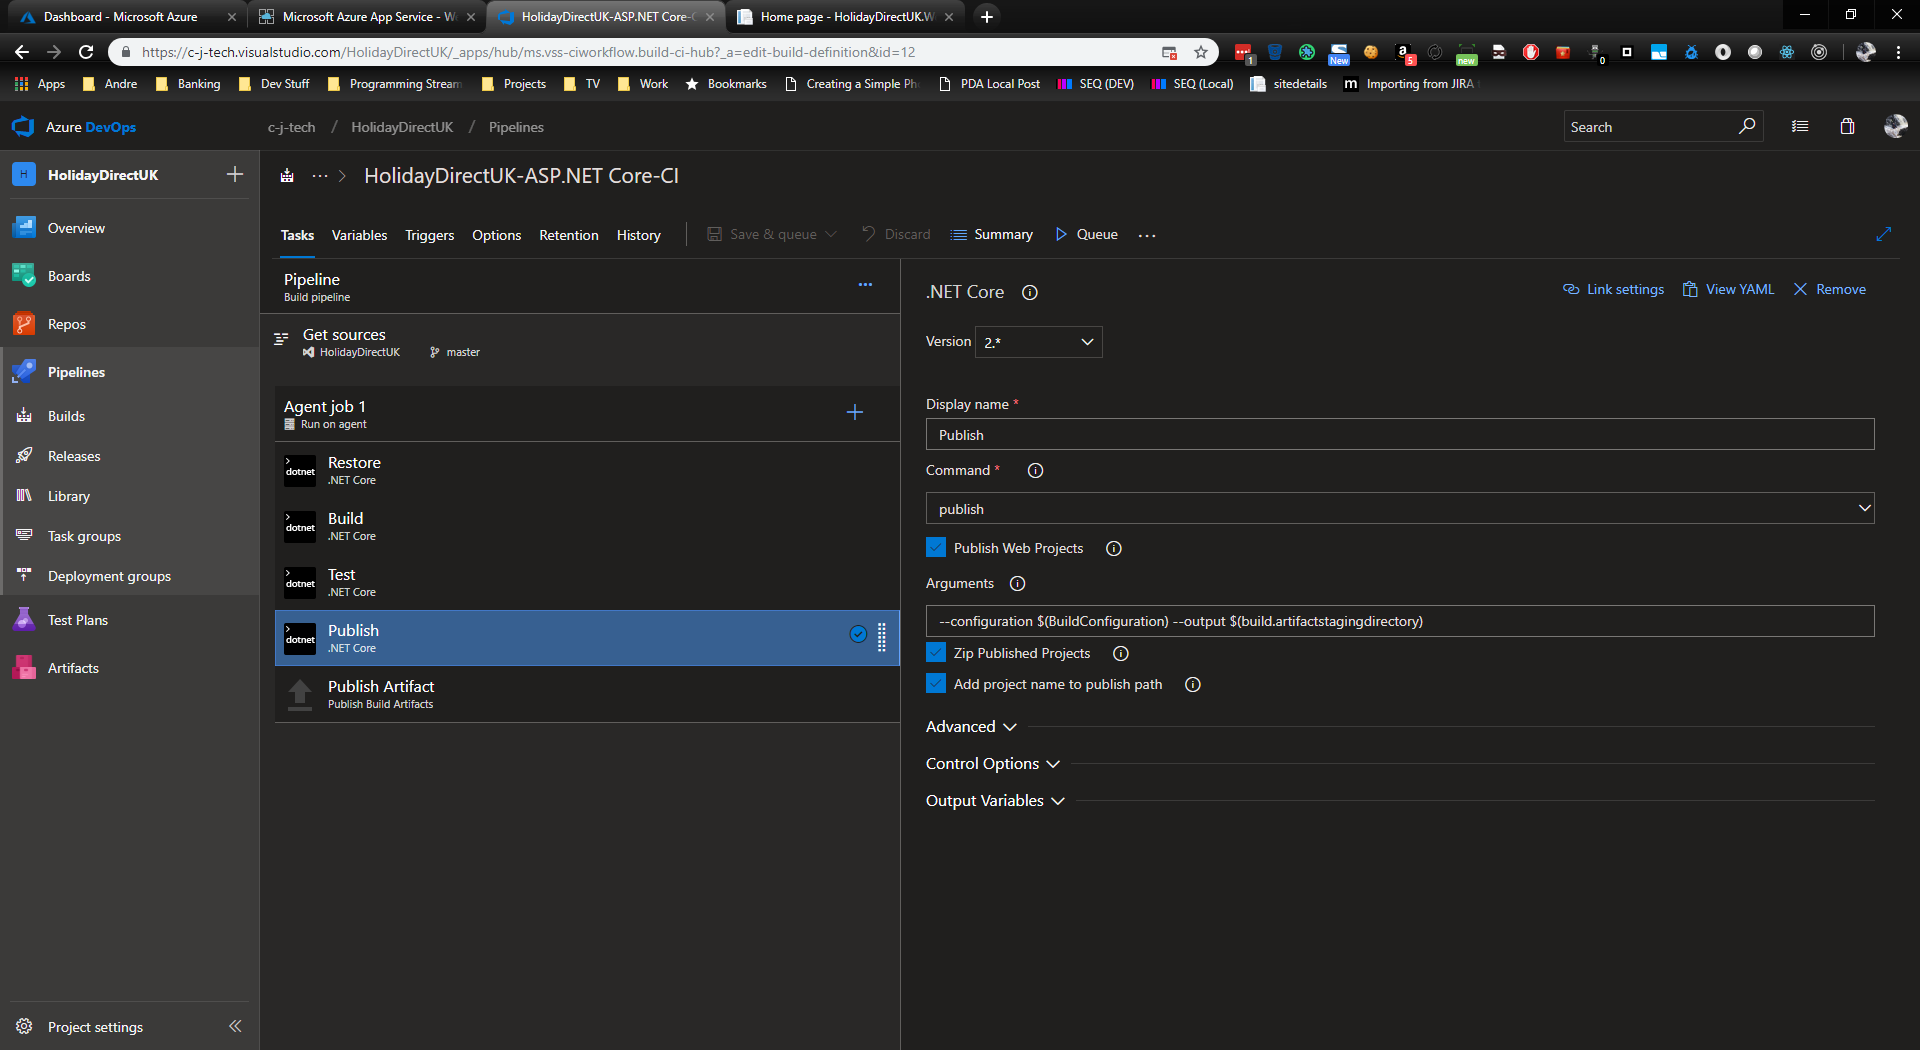
Now I can customise the build job
I’ll keep the name as it is for now, select an agent pool (this is just a VM that spins up to build your application, then publishes the artefacts and destroys itself).
I’ll leave the options as they are for the time being

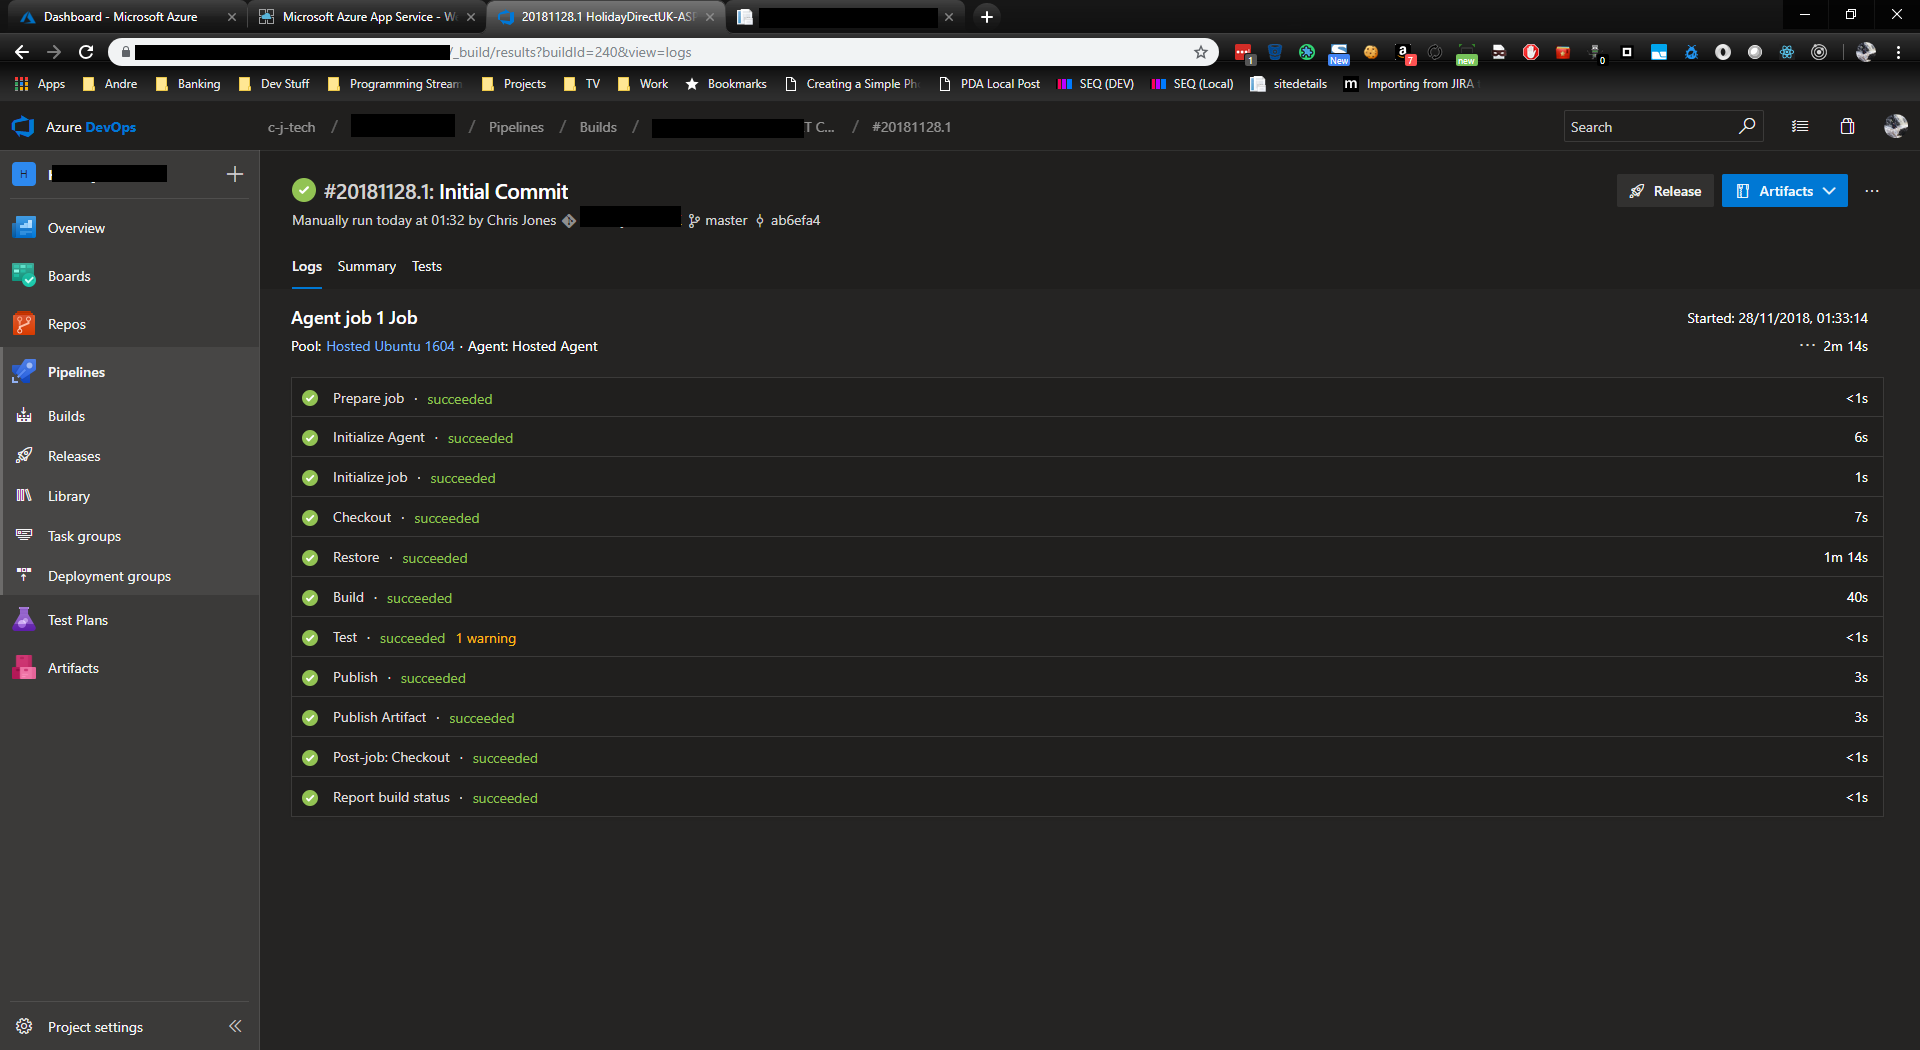
I’m now going to see how much of this just works out of the box by hitting the save and queue button, however, because we are doing a web project I need to ensure that is what gets published, select the Publish step, and tick the Publish Web Projects option
If all goes to plan, it should all pass
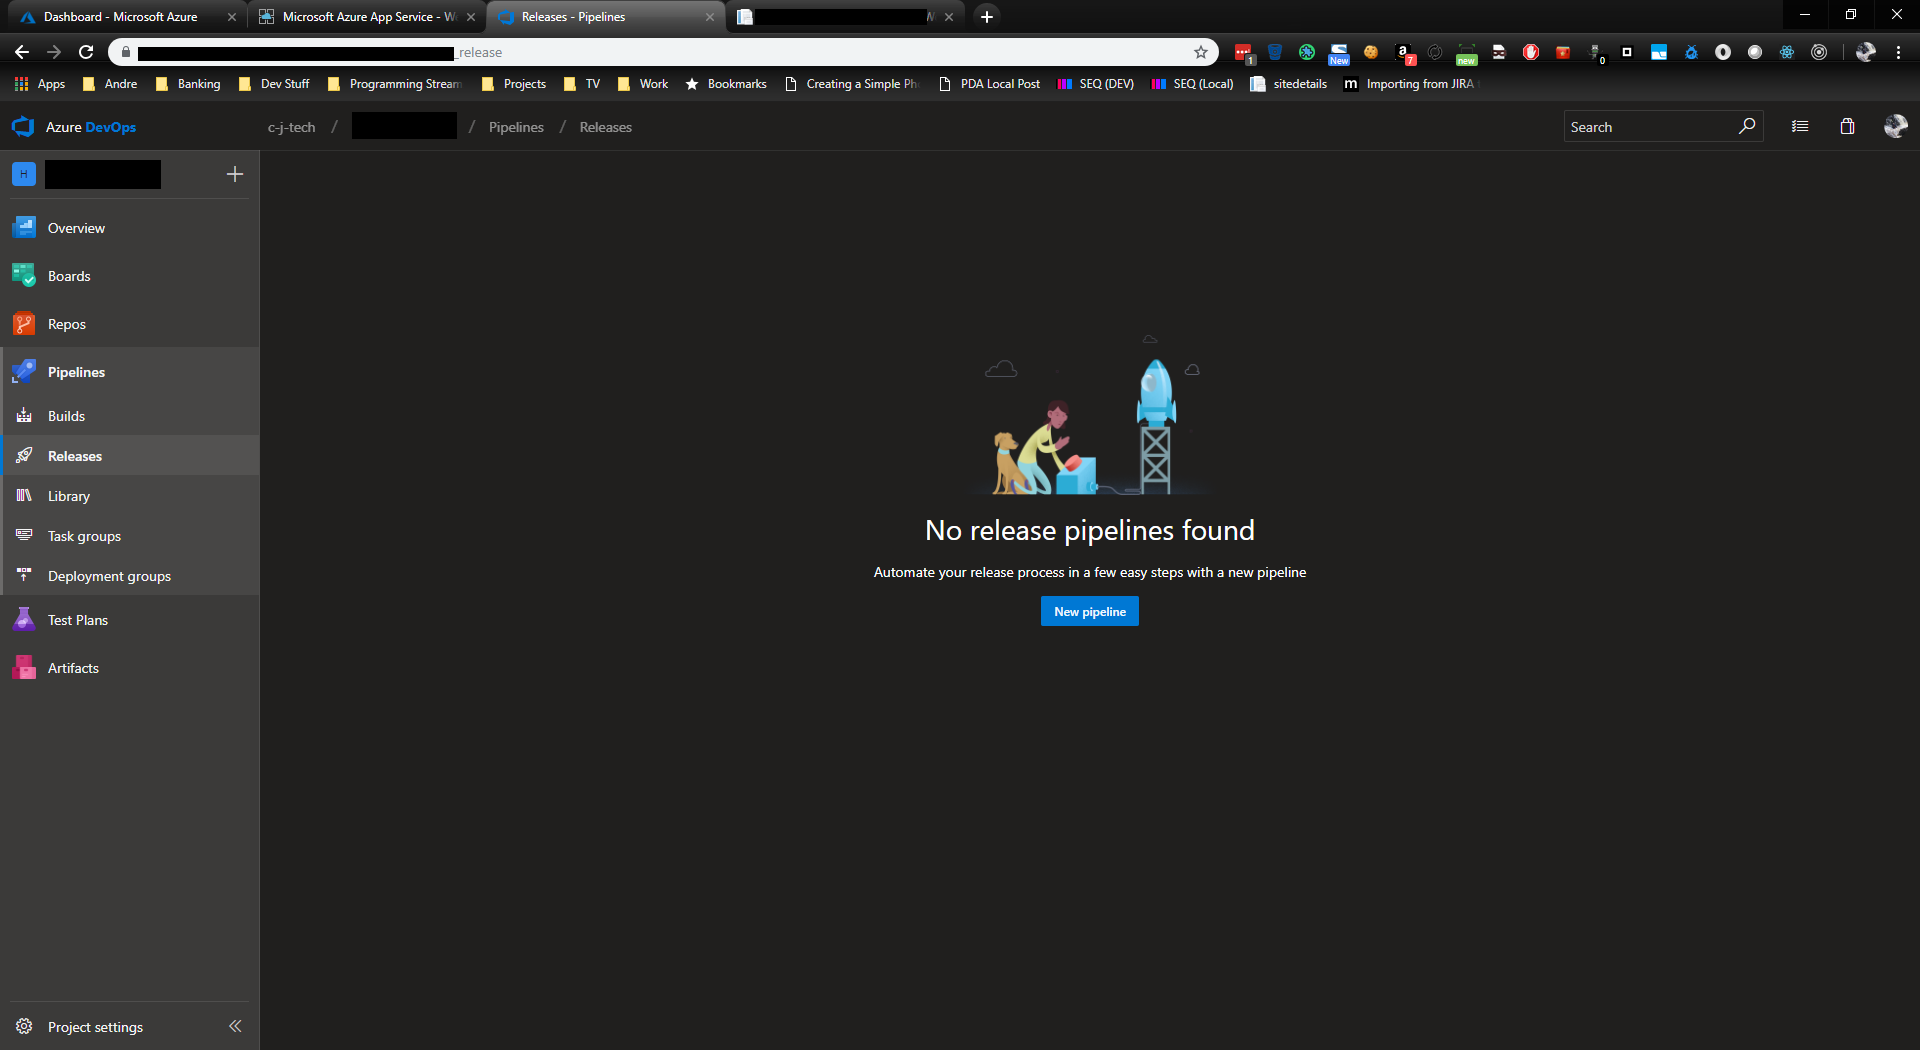
So now we have a passing build pipeline, we can now create a release pipeline, to do this, select the Releases tab under the Piplenes menu and click on the new pipelines button
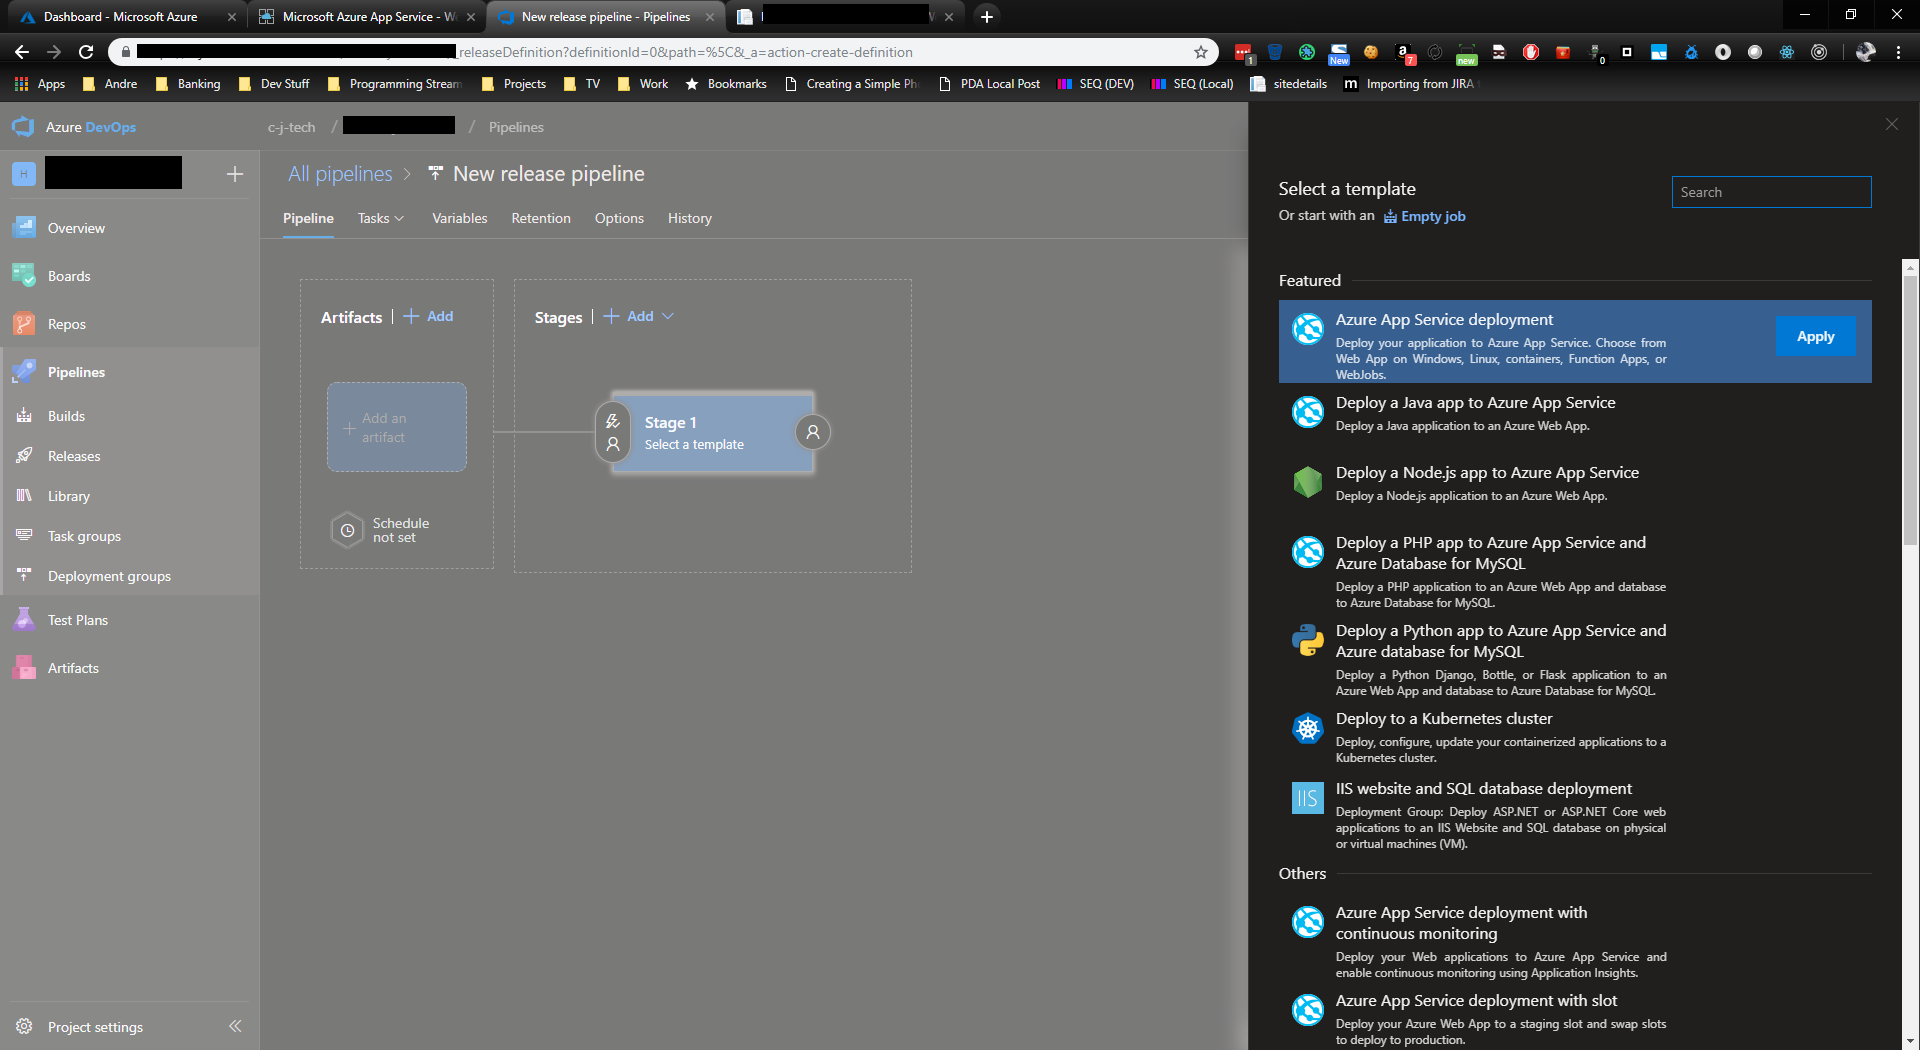
Here is where we can link it up to our Azure Website, ,select Axxure App Service deploylemtn from the right hand side and click apply
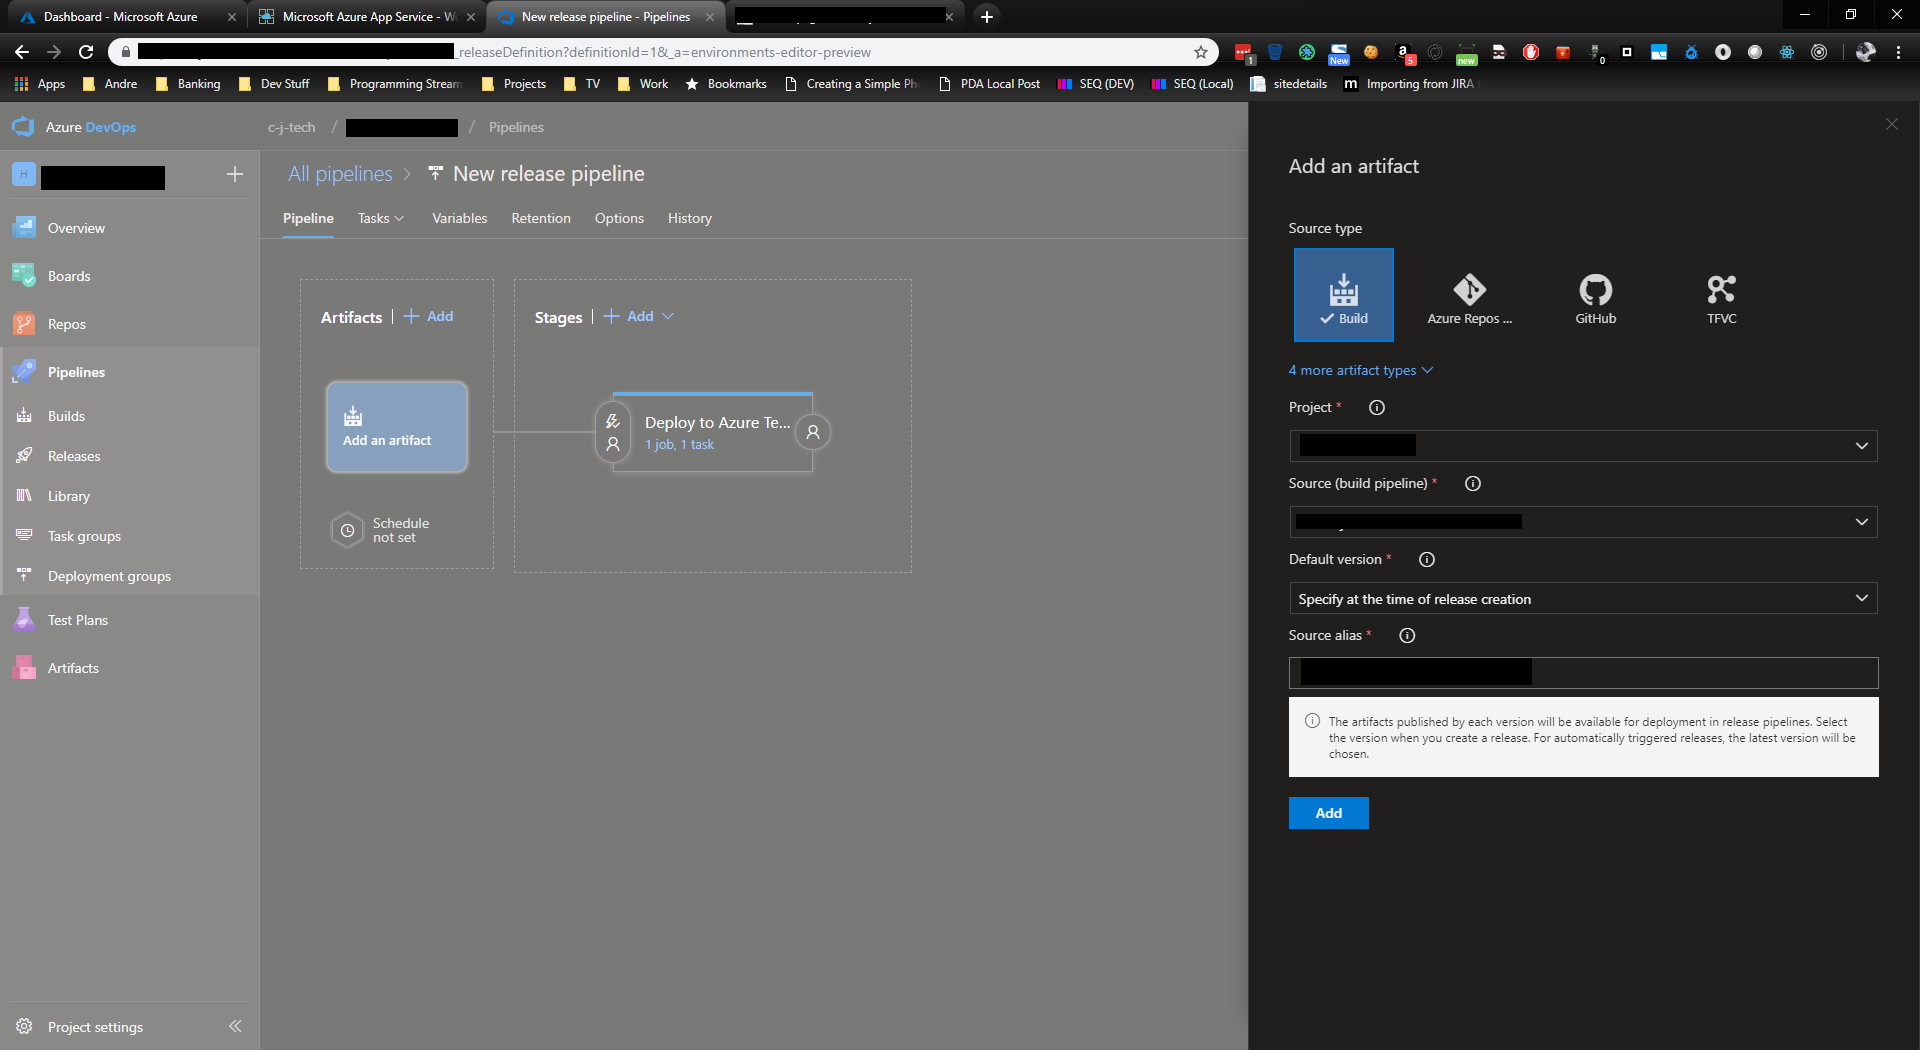
Now we need to link it to the build artifact from above
Click on the ‘Add an artifact’ link, select build, and the build pipeline and click add.
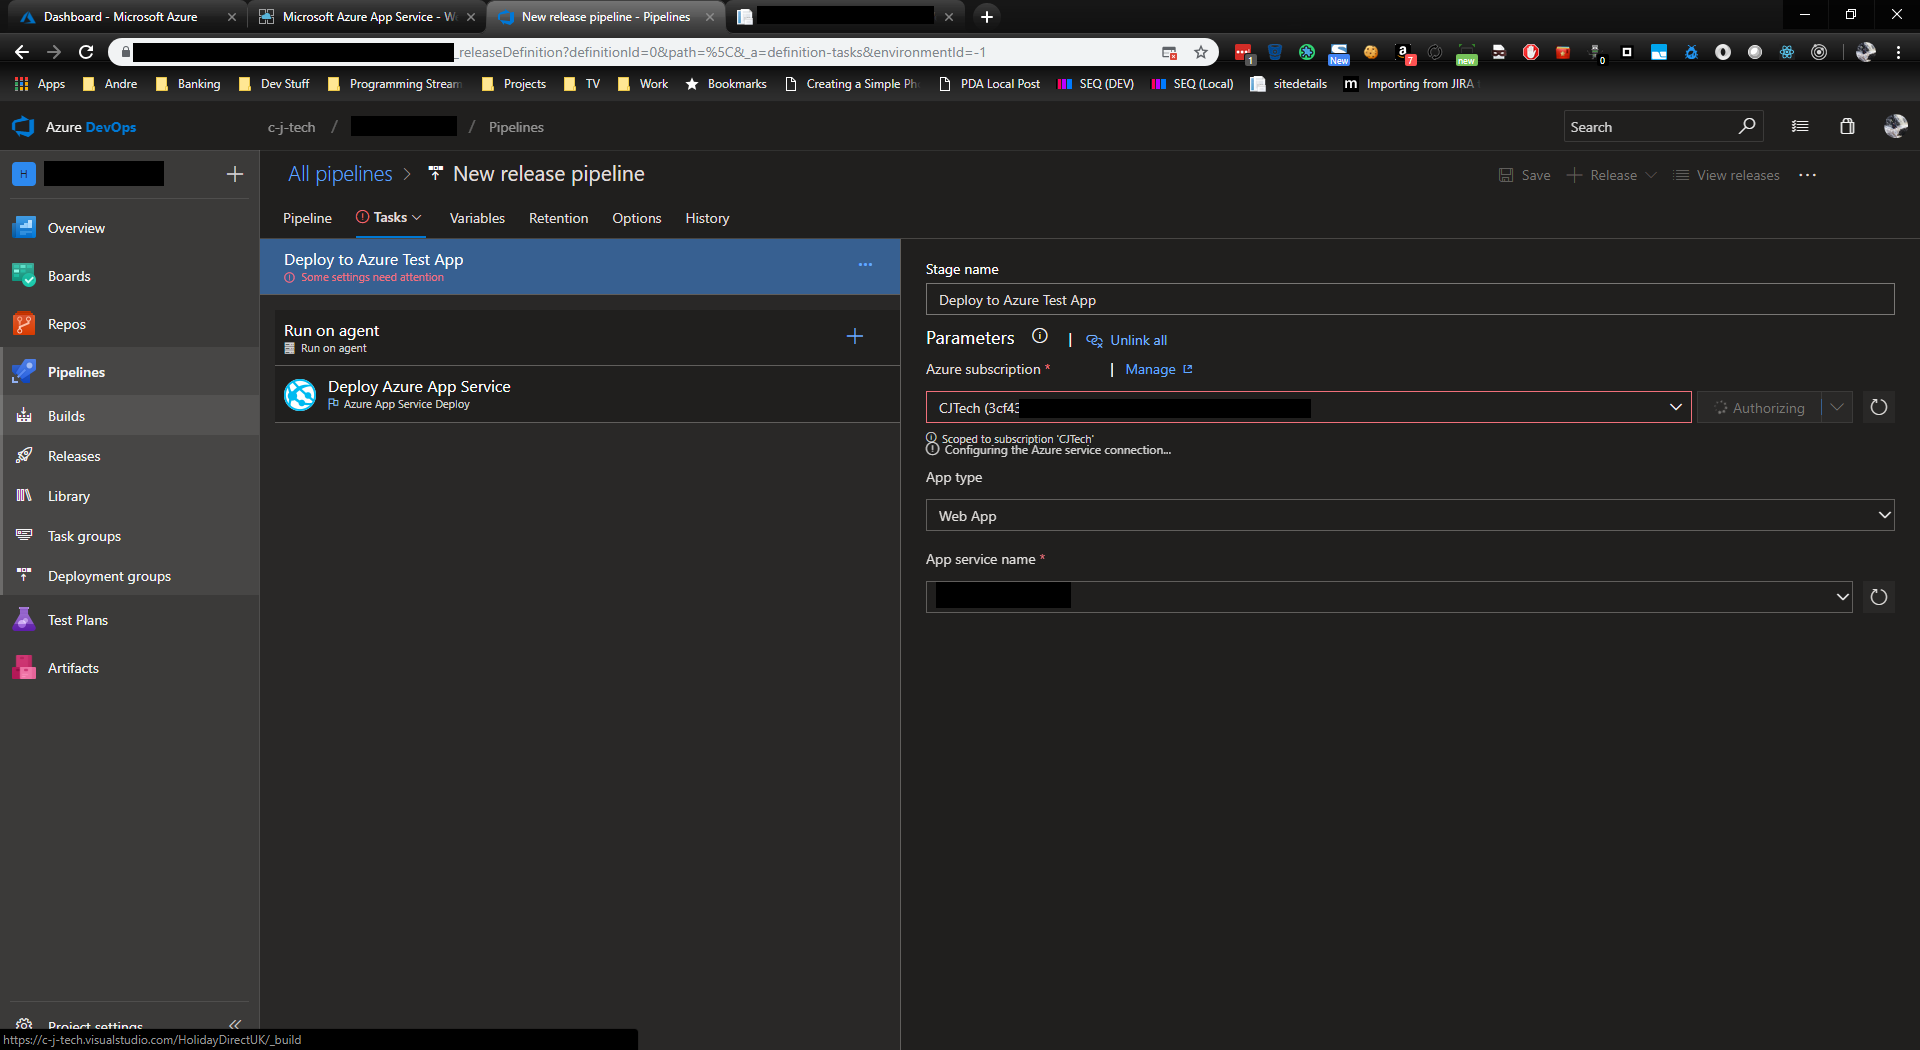
Give it a Stage Name, then click on Tasks in the top menu
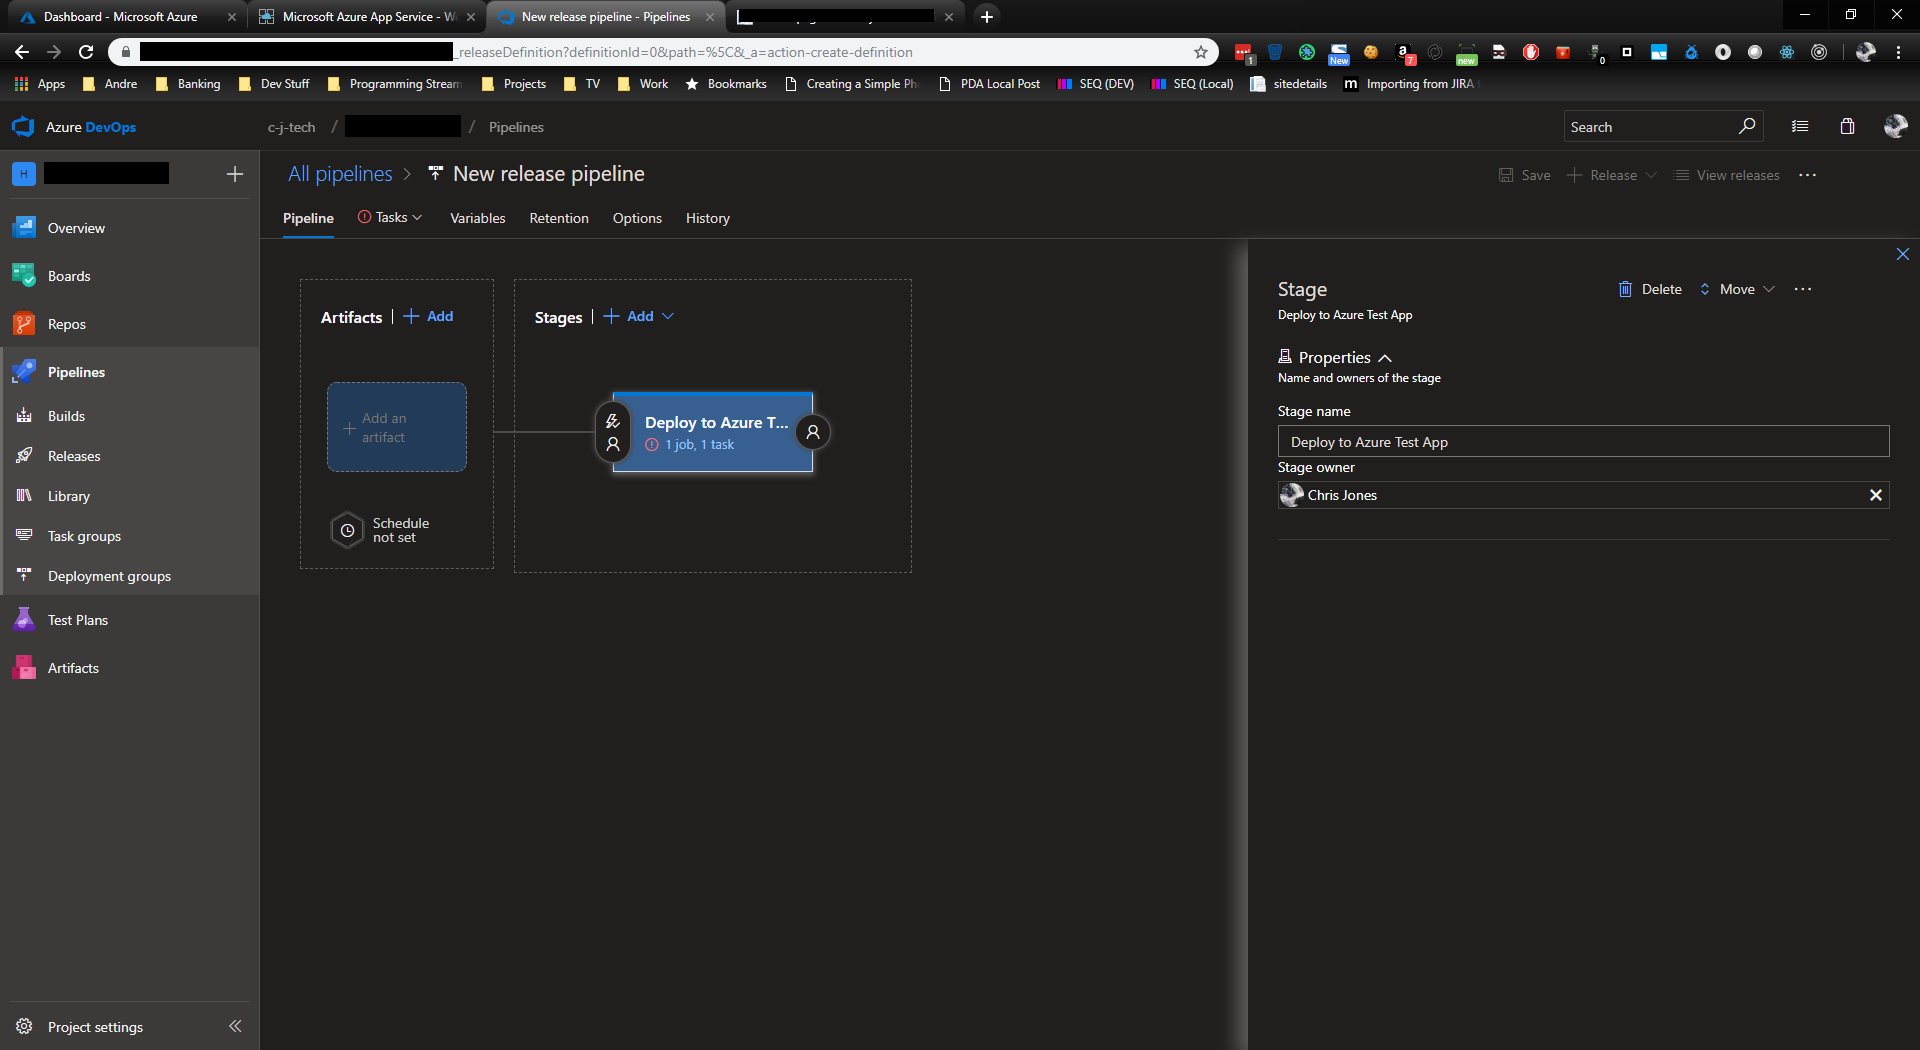
Select your appropriate settings for your Azure app
Save, and then click Release to create a manual release
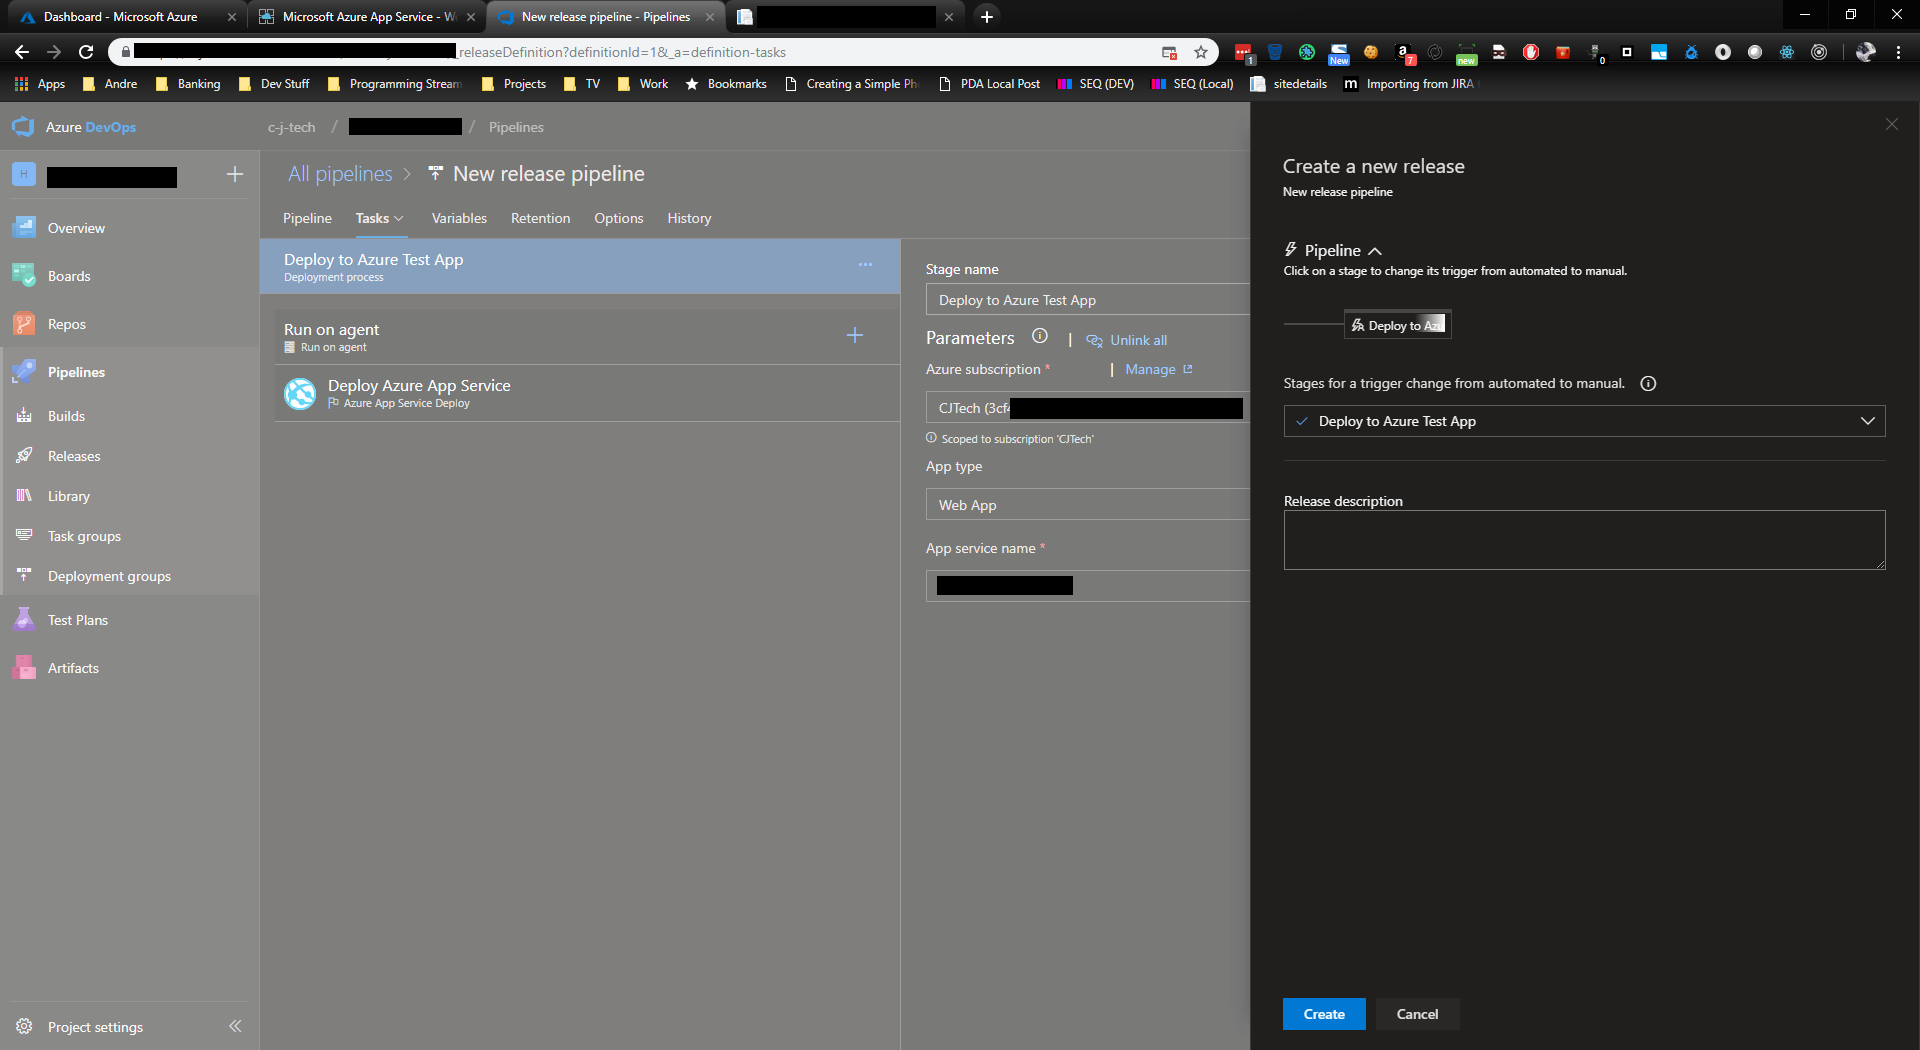
All being well, you should now be able to navigate to your website at http://{your App name}.azurewebsites.net and see your code/website running
I will be covering how to setup automatic deployment when code is pushed or merged into the master branch in a future post.