


Table of Contents
- Pre-requisites
- Onwards
- Setting up the project and installing all the things
- Adding a form to capture the inputs
- Processing the form data
- Finishing up (part 1)
- Source code
So this morning I got a whatsapp of a good friend asking me how good I am with Excel, I told him I wasn’t too bad, and after a few messages back and forth, turns out he doesn’t need Excel whatsoever, but potentially a website which can generate dynamic PDFs. I thought it might be a good candidate for a blog post, so here goes
I’ve decided that as I’m writing this, it should probably be split out into multiple posts, so this will be post 1 of 2. For part 2, click here
Pre-requisites
So, first things first, we need to have Visual Studio installed on your OS of choice with the following VS Code extensions (not sure if all of these are 100% required but I had them installed)!
Onwards
First thing I did was to create a new folder where I was going to store this project.
I then opened VS Code and selected the Open a remote window  icon in the bottom left of VS Code (or you can use the command pallette (by pressing ctrl + p) and search for remote containers)
and select
icon in the bottom left of VS Code (or you can use the command pallette (by pressing ctrl + p) and search for remote containers)
and select Remote-Containers: Open folder in container... the option and navigate to the folder which you’ve just created.
It will then popup with a whole list of options of different development environments (you can filter these as I have done in the below screenshot), and select Node.js 12 & Mongo DB

It may take a couple of minutes to finish setting up, but once its up and running you should see something similar to the below like 
This will create a .devcontainer folder on disk which will have a dockerfile, docker-compose.yml and devcontainer.json files.
Setting up the project and installing all the things
So, as with every great node based project, its all starts with a package.json, so I’ll hit ctrl + ' to bring up
So, first off I think we’ll want to install the following things, I’ll add them in the terminal by running npm i {package name}
- pdfkit
- express
NOTE If you’ve done a fresh clone, or ‘nuked’ the node_modules folder, its worth noting that you’ll need to re-run npm -i in the console window to restore the dependencies
Because the template container hasn’t exposed a port, we’ll need to amend both the dockerfile and docker-compose file to expose the port
We also need to tell express how to run and what to serve, so we’ll create a new file called server.js user the /workspace directory.
I’m just going to add a simple route for now so we can test things work, so the code inside server.js for now will just be the following:
const express = require('express')
const app = express()

app.get('/', function (req, res) {
  res.send('Hello World')
})

console.log('ready and waiting for connections');

module.exports = app.listen(2020);
In my Dockerfile I’ve added the following to the end of it:
RUN npm install

EXPOSE 2020

CMD ["node", "server.js"]
and inside the docker-compose.yml, under services:web item, I’ve added in
ports:
  - 2020:2020
Now, with the server.js file selected, we can select Run -> Start Debugging (or without debugging), or use the keyboard shortcut ctrl + F5
If you swap over to your browser and navigate to http://localhost:2020 (or whatever port you chose), then you should see an output similar to

Adding a form to capture the inputs
So the next thing we’re going to need now is an HTML form to capture the text that we want displayed on the certificates, so in my server.js file, I’m going to edit the default (root) endpoint (the one that just says /) which will serve the static HTML page which has the form on it
app.get('/', function (req, res) {
  res.sendfile('index.html');
})
We’ll also need to create a basic index.html page with a simple one input form with a submit button:
<!DOCTYPE html>
<html lang="en">
<head>
    <meta charset="UTF-8">
    <meta name="viewport" content="width=device-width, initial-scale=1.0">
    <title>Enter details</title>
</head>
<body>
    <h1>Please enter the following information</h1>
    <form method='post' action='process'>
        <input type='text' name='name' id='name' placeholder="Name" />
        <input type='submit' value="Generate PDF" />
    </form>
</body>
</html>
This should be relatively self explanatory, but in case you’re completely new, a quick run-down
The first 7 lines are general boilerplate HTML (in fact, it was generated by a VS code extension that I have installed)
The pieces between the <body> & </body> tags are the bits that get displayed on the web page, and the <form> tag gives us information as to how and where we want to process the collected inputs, which are what the method and action attributes are for.
Now if we restart our debugging session (by either hitting ctrl + shift + F5) or hitting the restart icon of the debug toolbar  (2nd from the right).
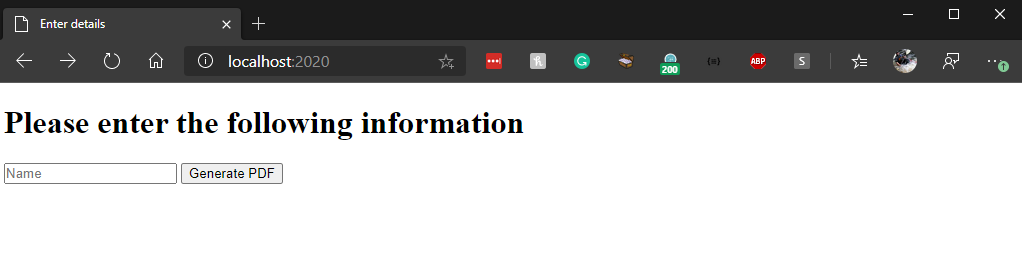
Now, if you flick back to your web browser and refresh, you should see the form, like so
Processing the form data
OK, so if you’ve tried entering data and submitting the form, you’ll have likely noticed an error gets thrown up like this, because we’ve not wired up how to handle this data (yet);

So we can check with multiple inputs, I’ve added an additional field to our HTML page, so we can check multiple inputs coming in, so our form code now looks like
<form method='post' action='process'>
    <input type='text' name='name' id='name' placeholder="Name" />
    <input type='text' name='achievement' id='achievement' placeholder="Achievement" />
    <input type='submit' value="Generate PDF" />
</form>
I’m going to add a new route block, that is listening on the /process path, but we also need to install something extra that allows us to look at the incoming data from the form.
In the terminal, run npm i body-parser.
Now, in our server.js file we can tell Express how to handle this request and data.
First, add const bodyParser = require('body-parser'); near the top of the file with the other dependencies that a required.
Below that, you also need to add app.use(bodyParser.urlencoded({ extended: true }));
Now, we can add our route, currently we’ll just return some JSON data back to the browser
app.post('/process', (req, res) => {
  res.send({ data: [req.body] });
});
Now, save everything and don’t forget to restart your debugging session again, and starting from the route page, fill in the data, and you should see the data returned back to you in JSON format, as per the below screen animation:

Finishing up (part 1)
This concludes things for this part of this tutorial, I’m sure you’ll agree we’ve covered a fair bit, and we’ve still got more to come.
Source code
I wanted to ensure that the source code would be available, and I’ve branched it as such so it aligns with the posts, and it can be viewed on my GitHub https://github.com/cmjchrisjones/blog-post-demos/tree/developing-a-node-app-with-mongo-and-pdf-generator-in-vs-code-in-a-container/post1
or if you want to see the entire source code from this entire series, check out https://github.com/cmjchrisjones/blog-post-demos/tree/developing-a-node-app-with-mongo-and-pdf-generator-in-vs-code-in-a-container/full
Lastly, if you’re using source control, don’t forget to add a .gitignore to ignore things like node_modules